-Vigotsky
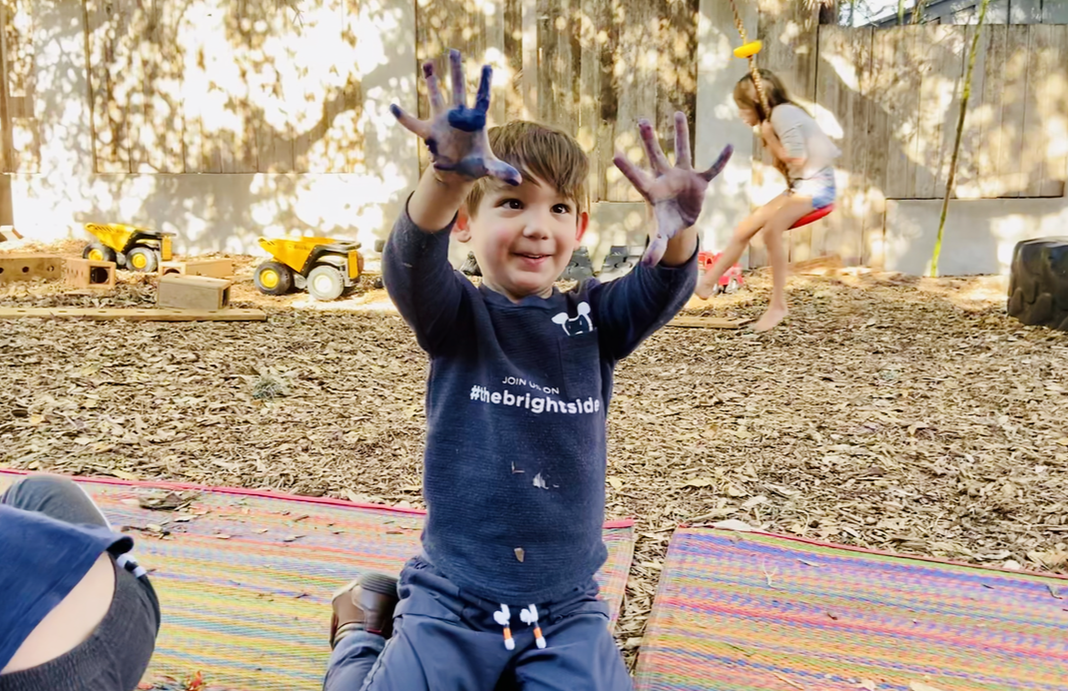
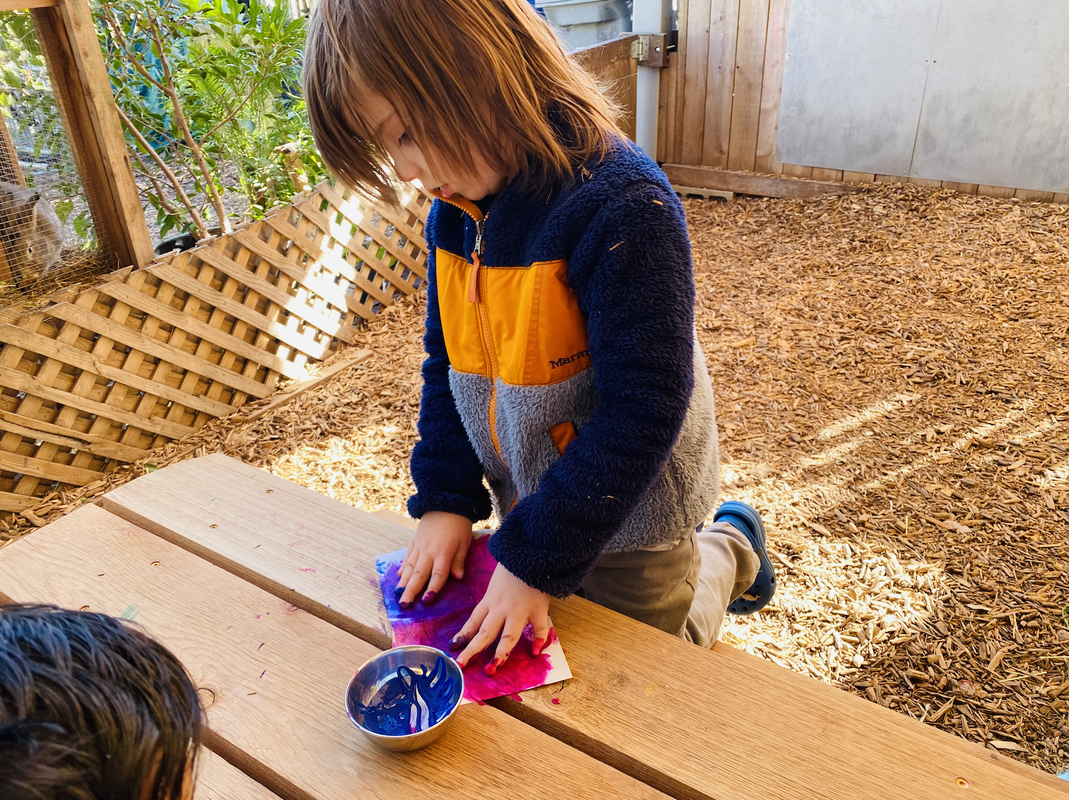
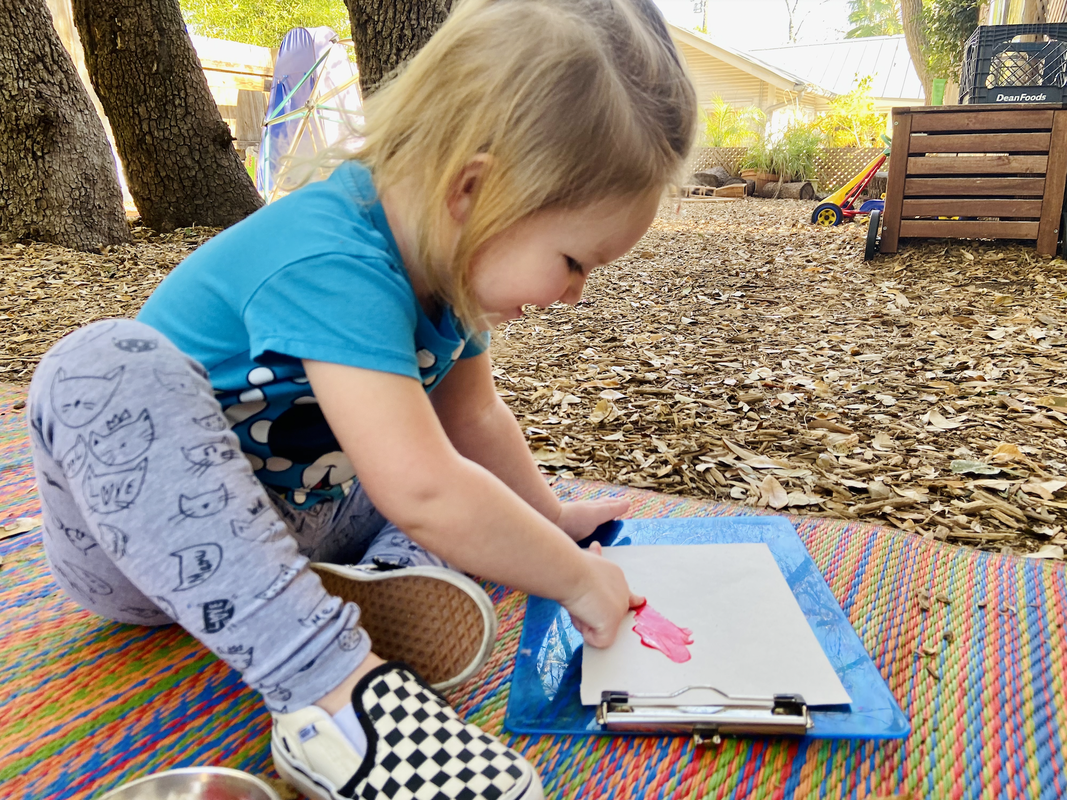
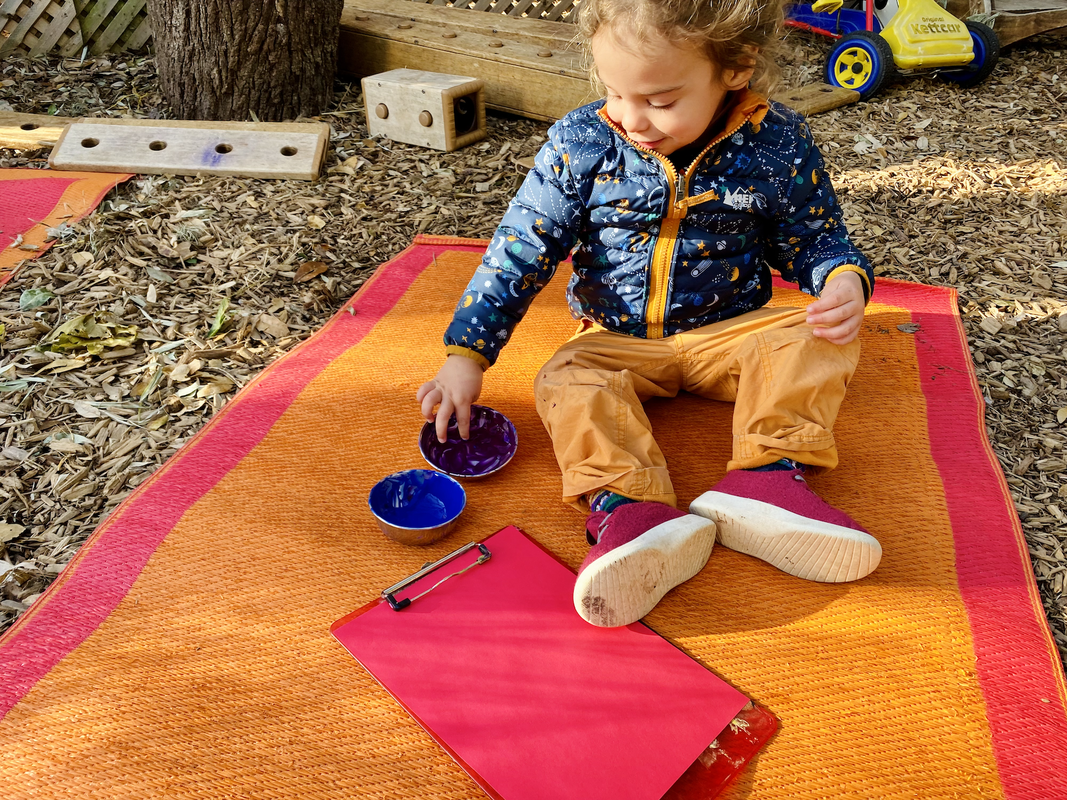
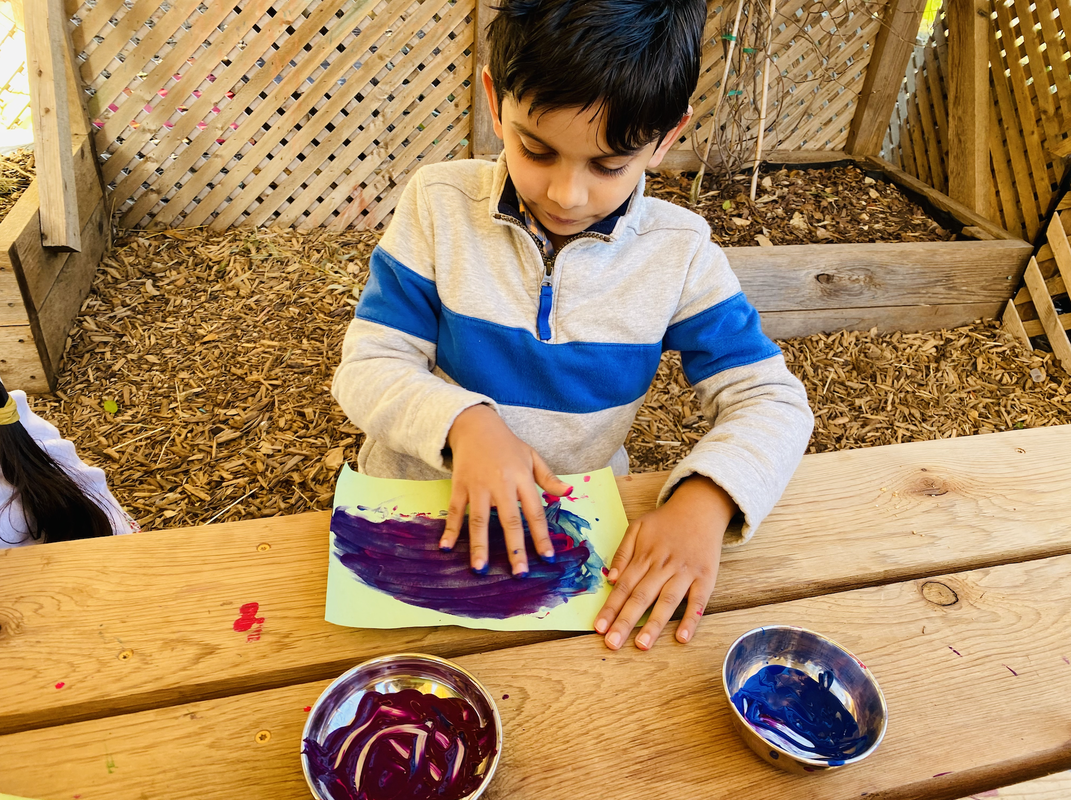
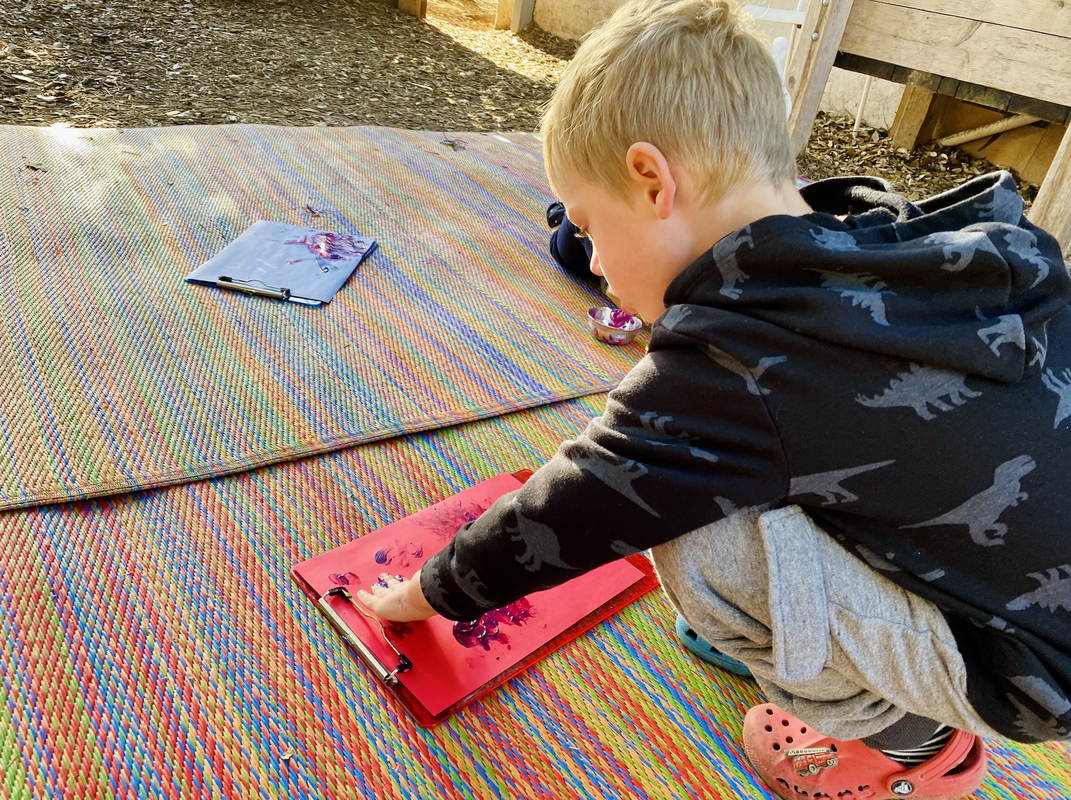
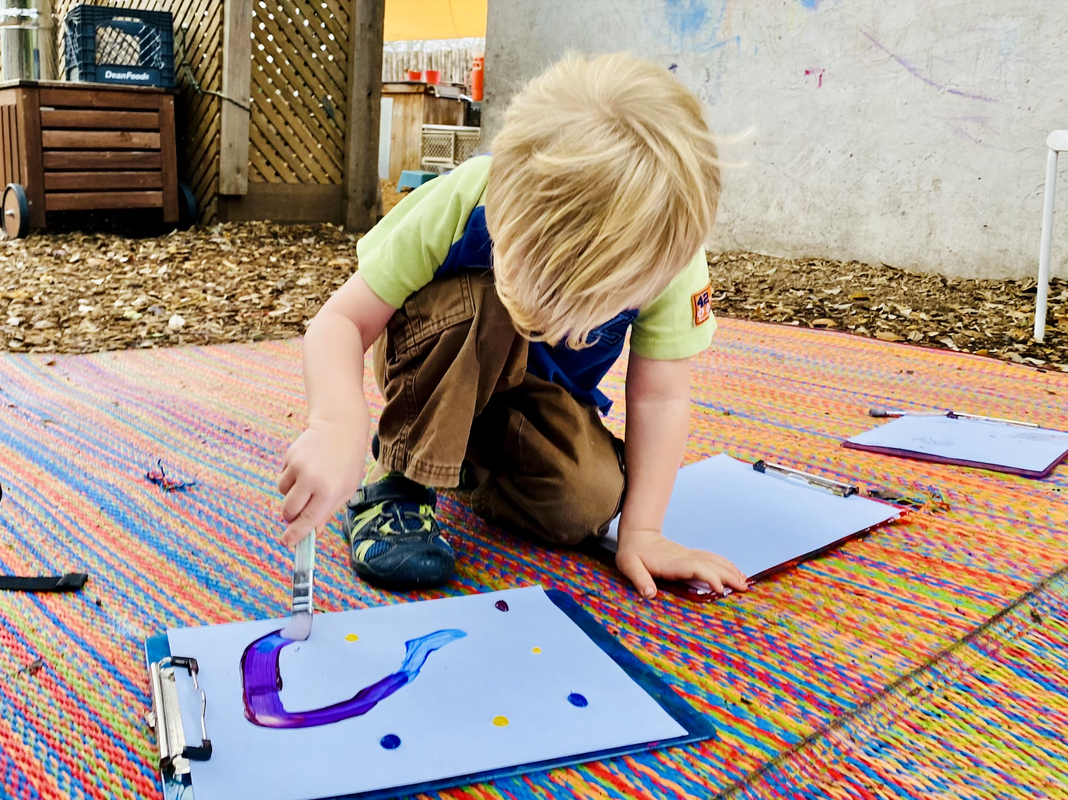
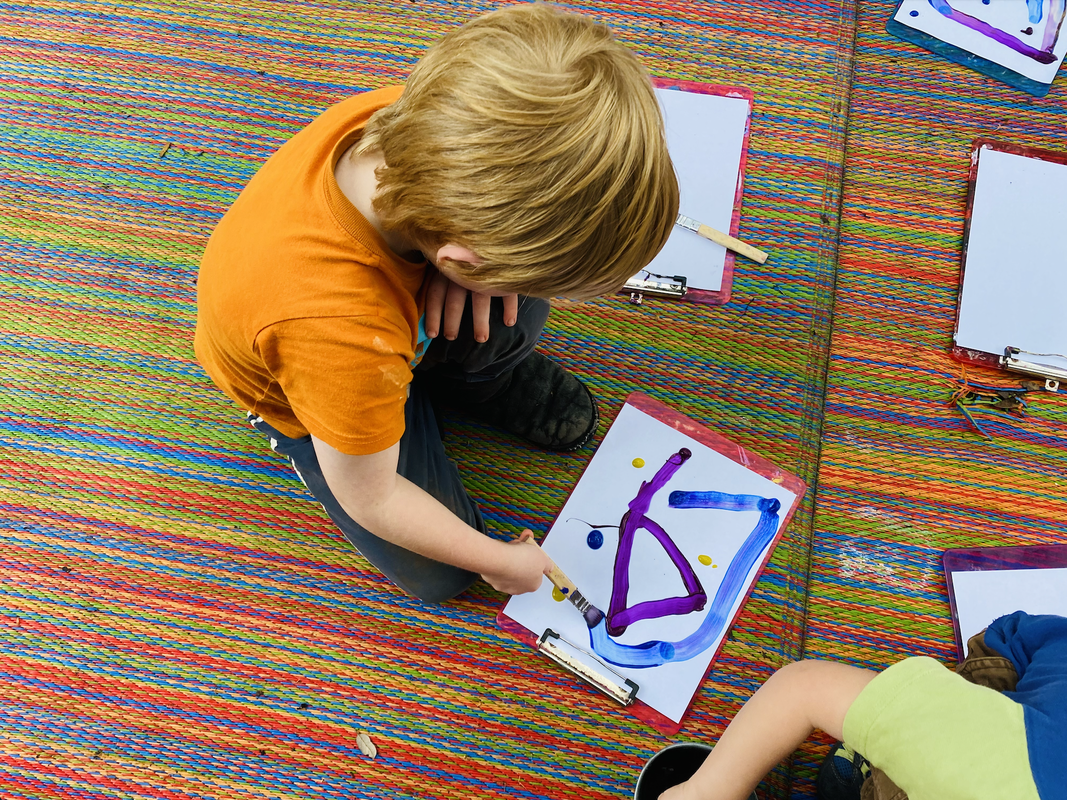
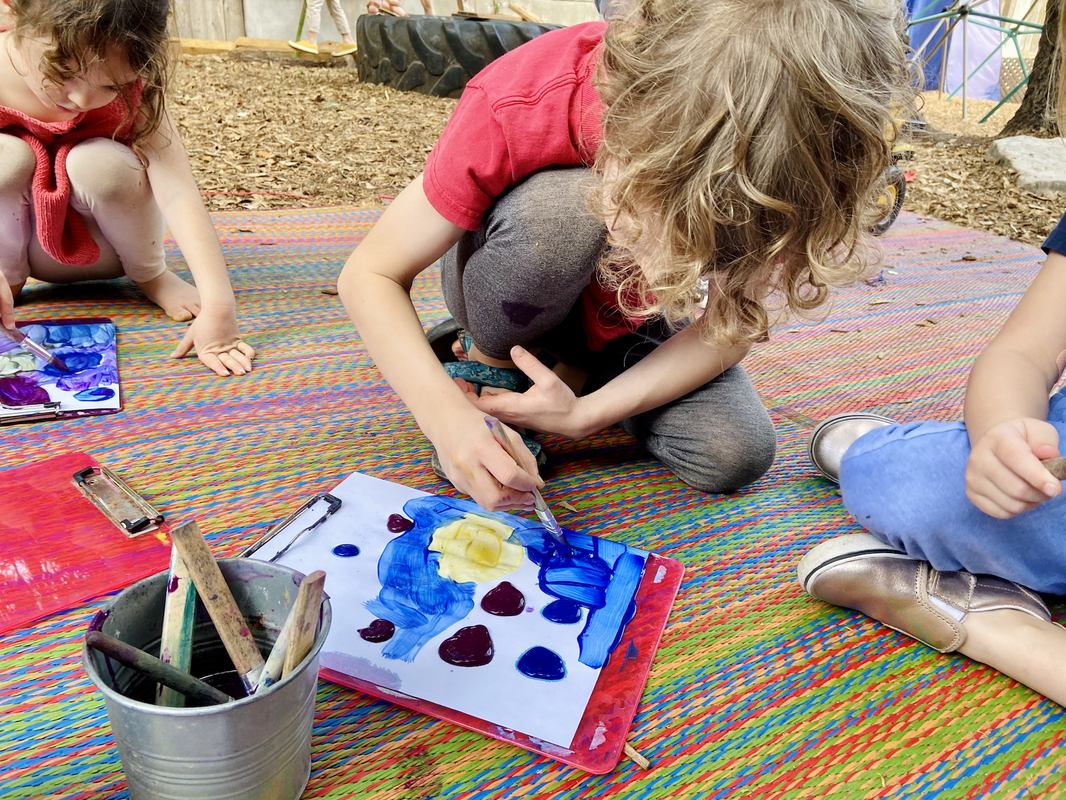
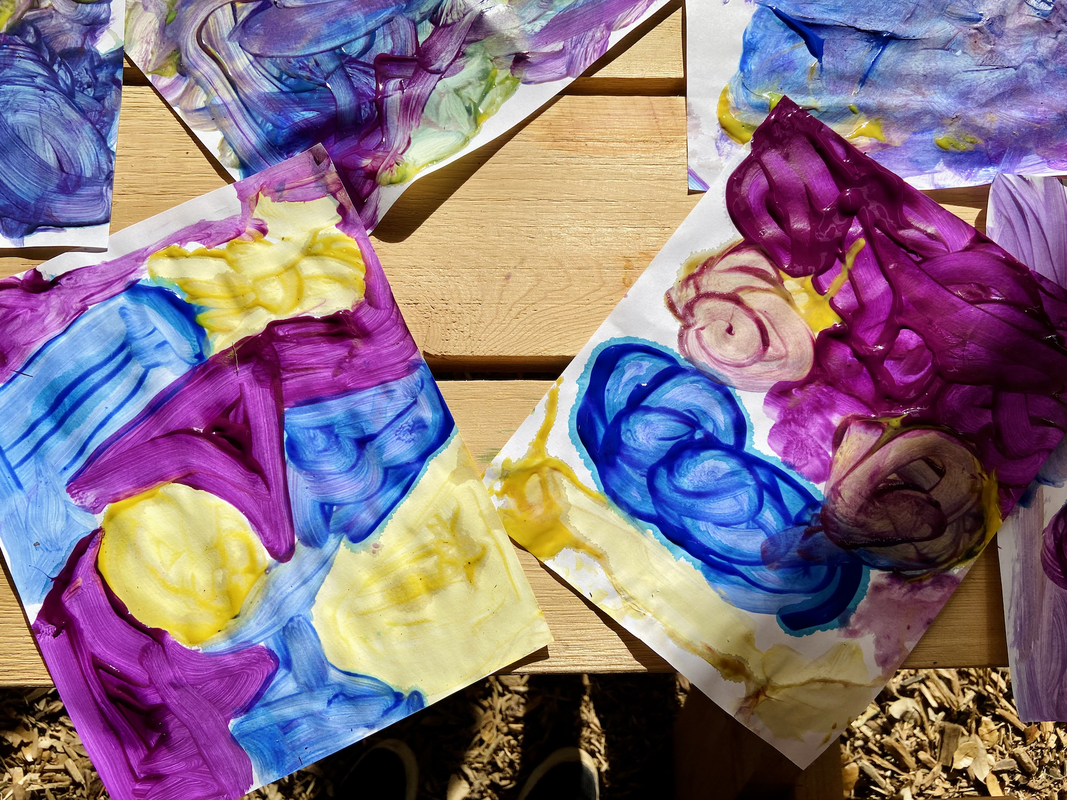
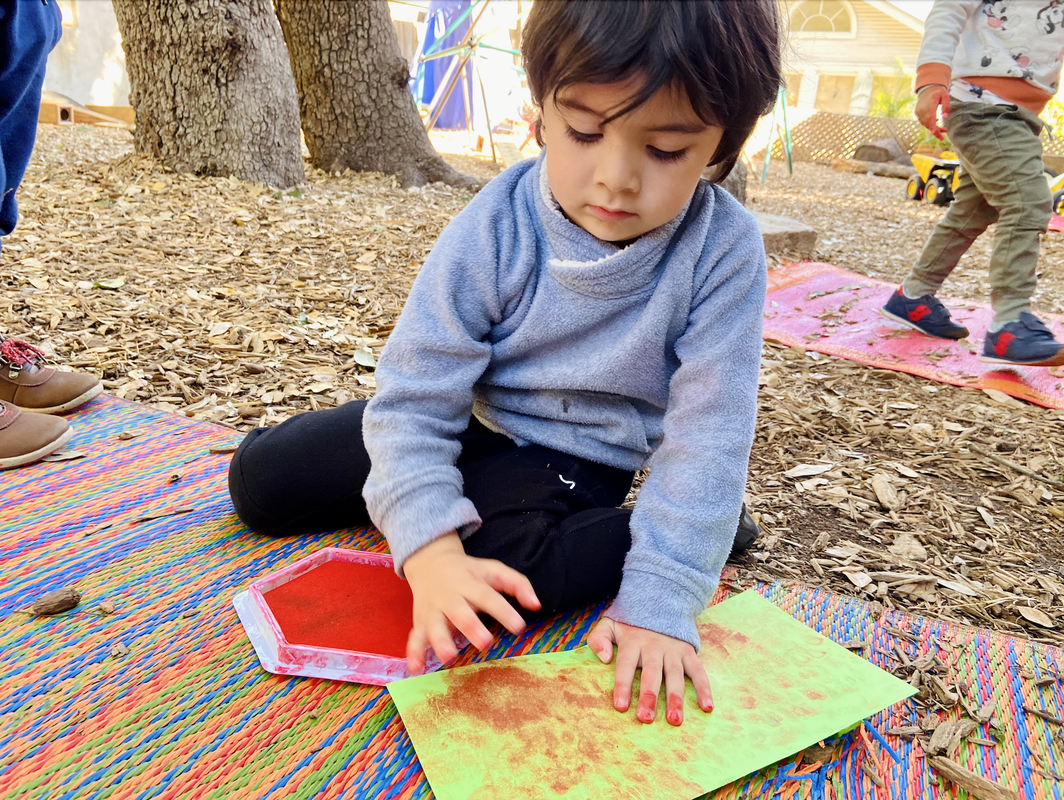
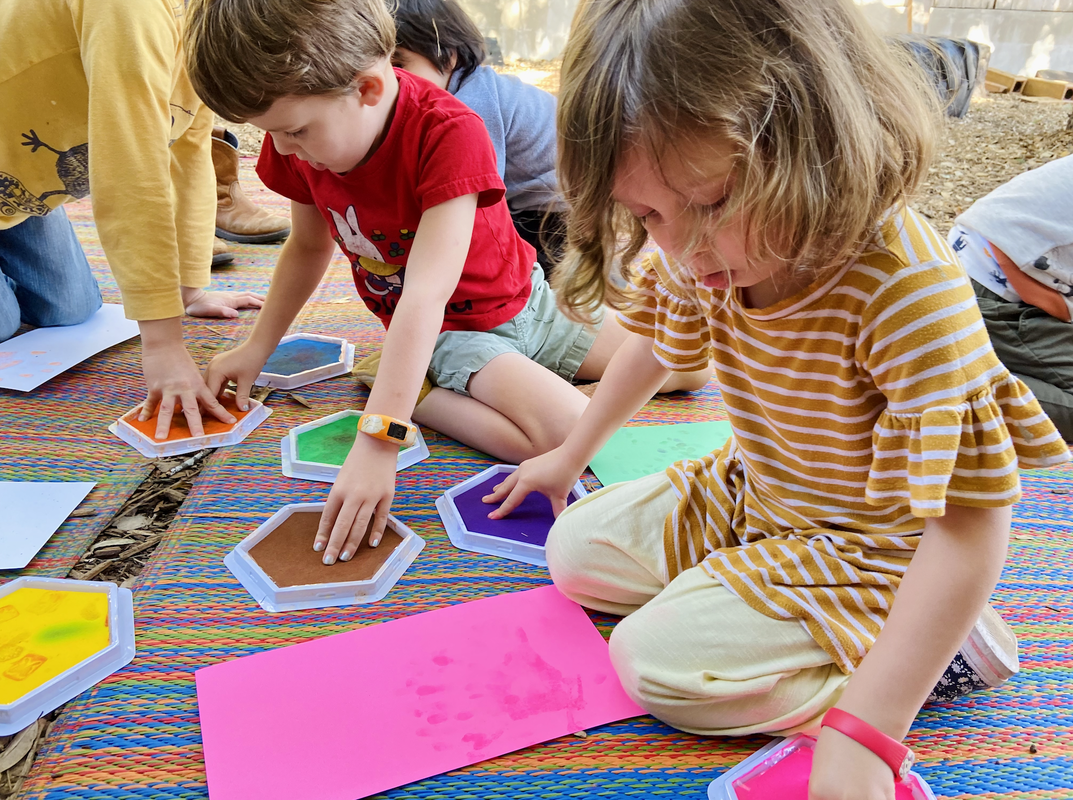
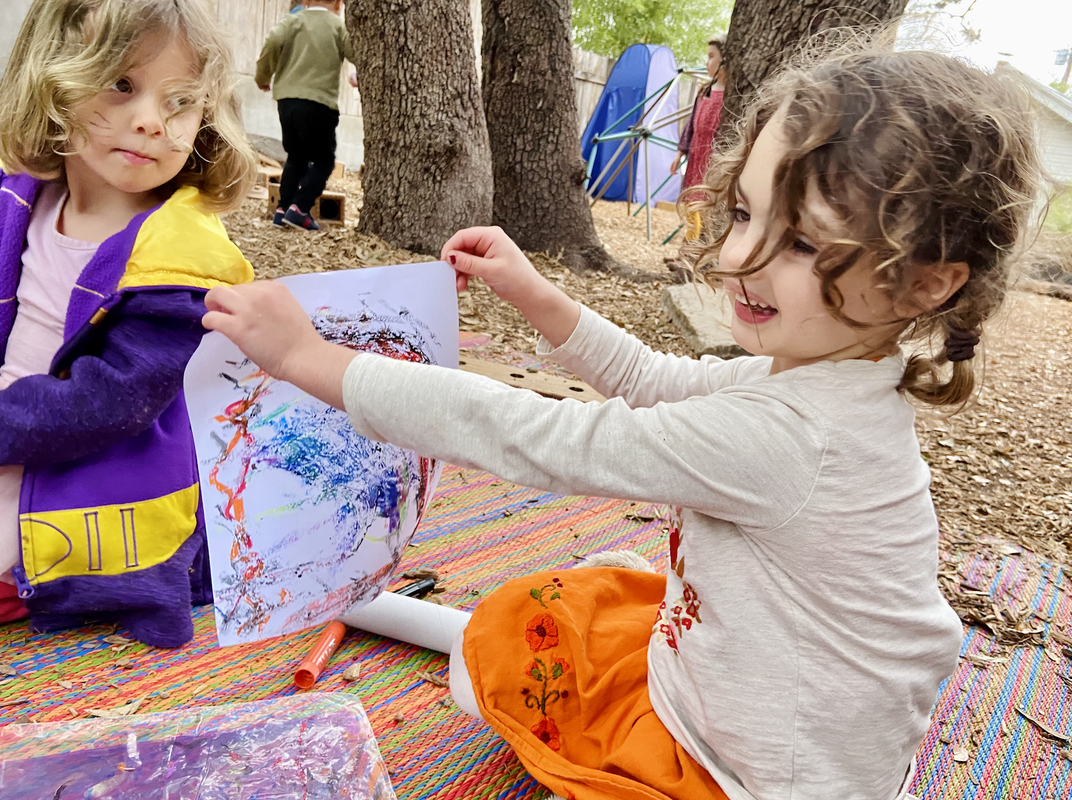
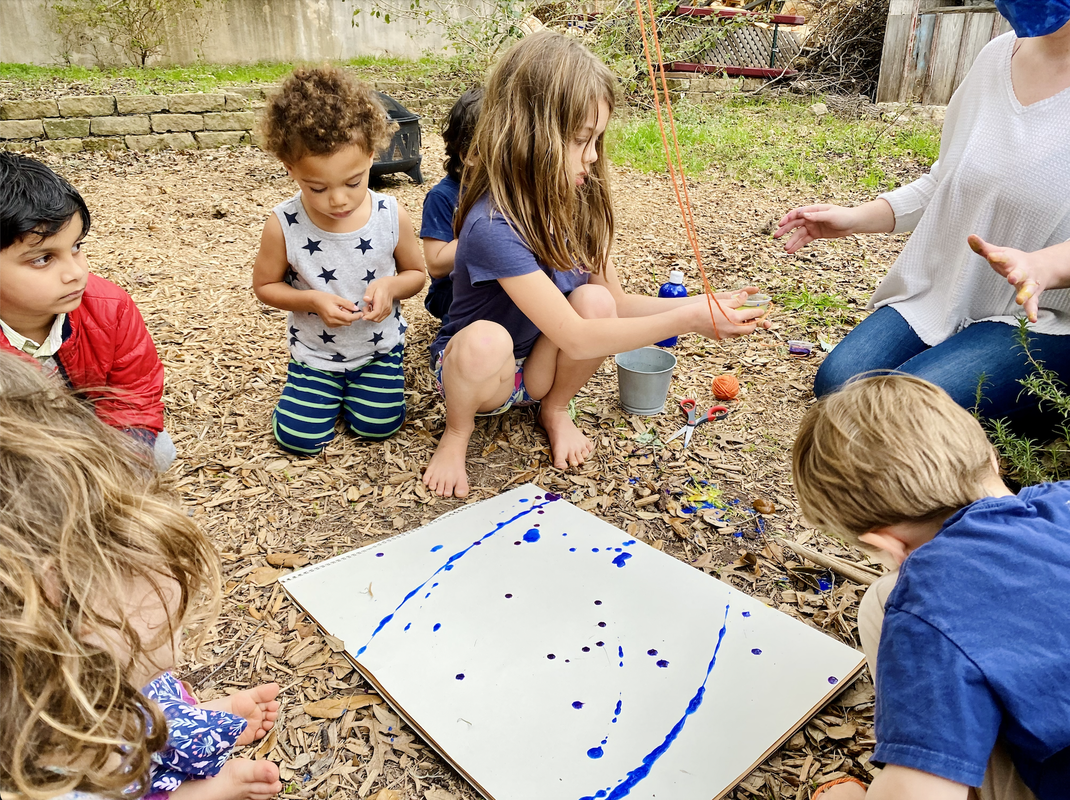
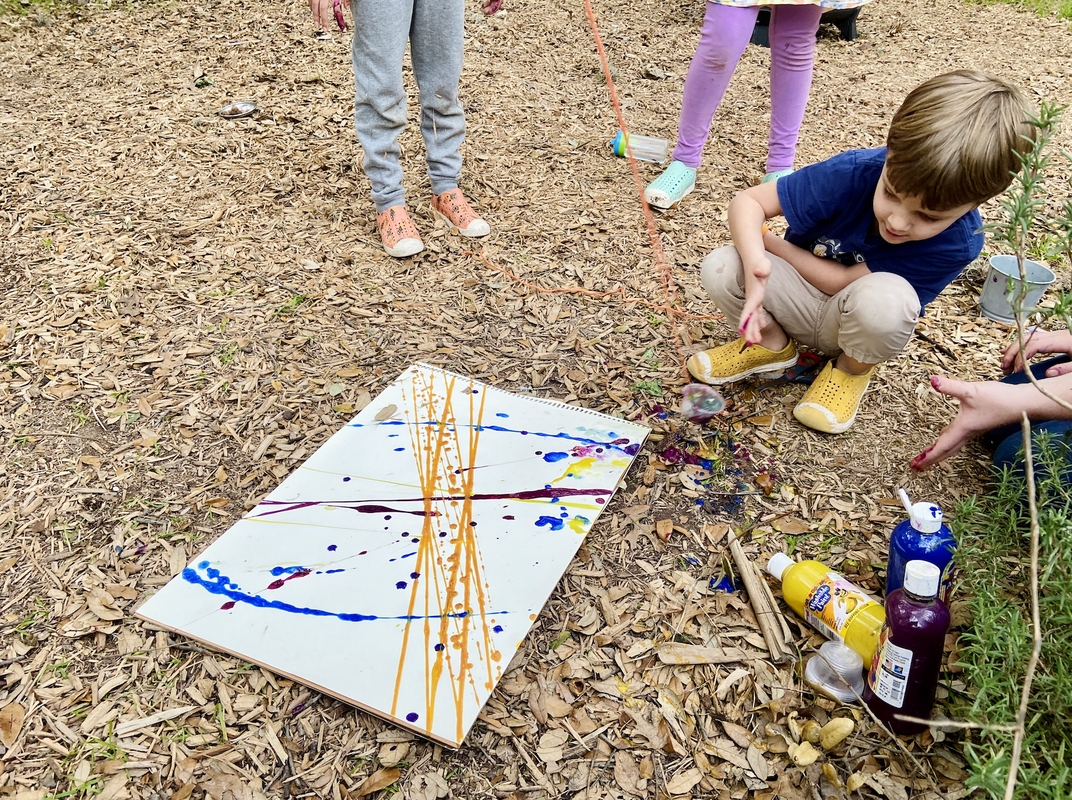
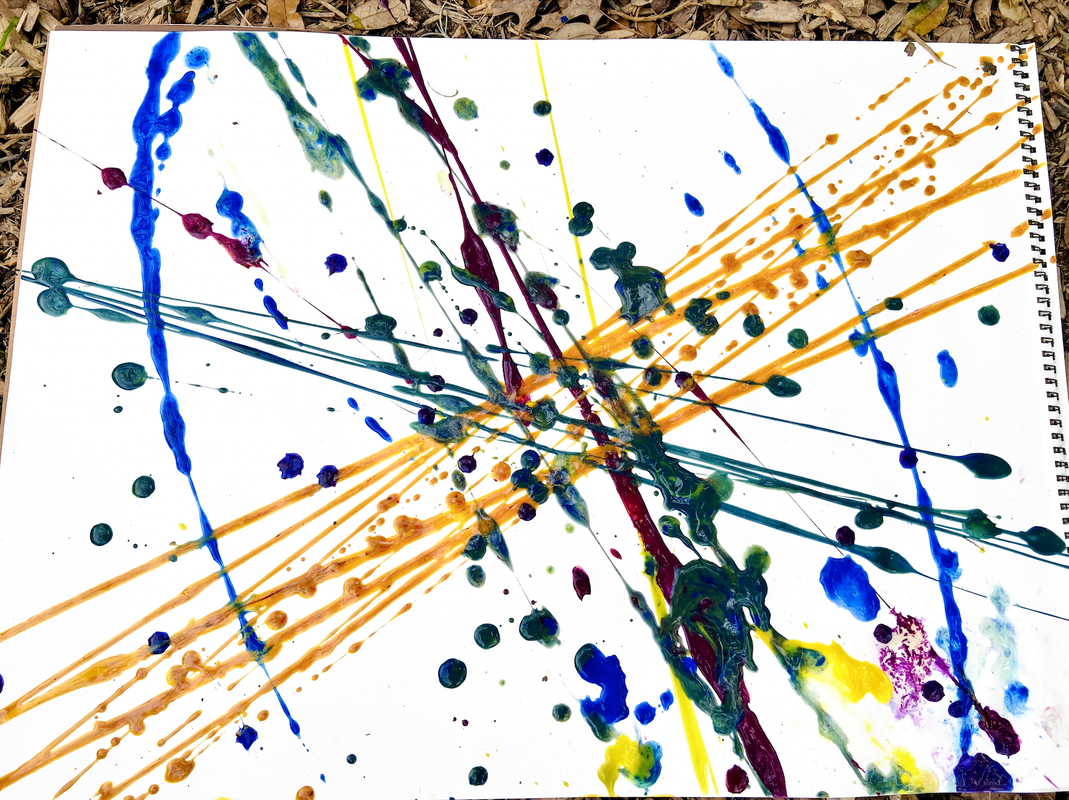
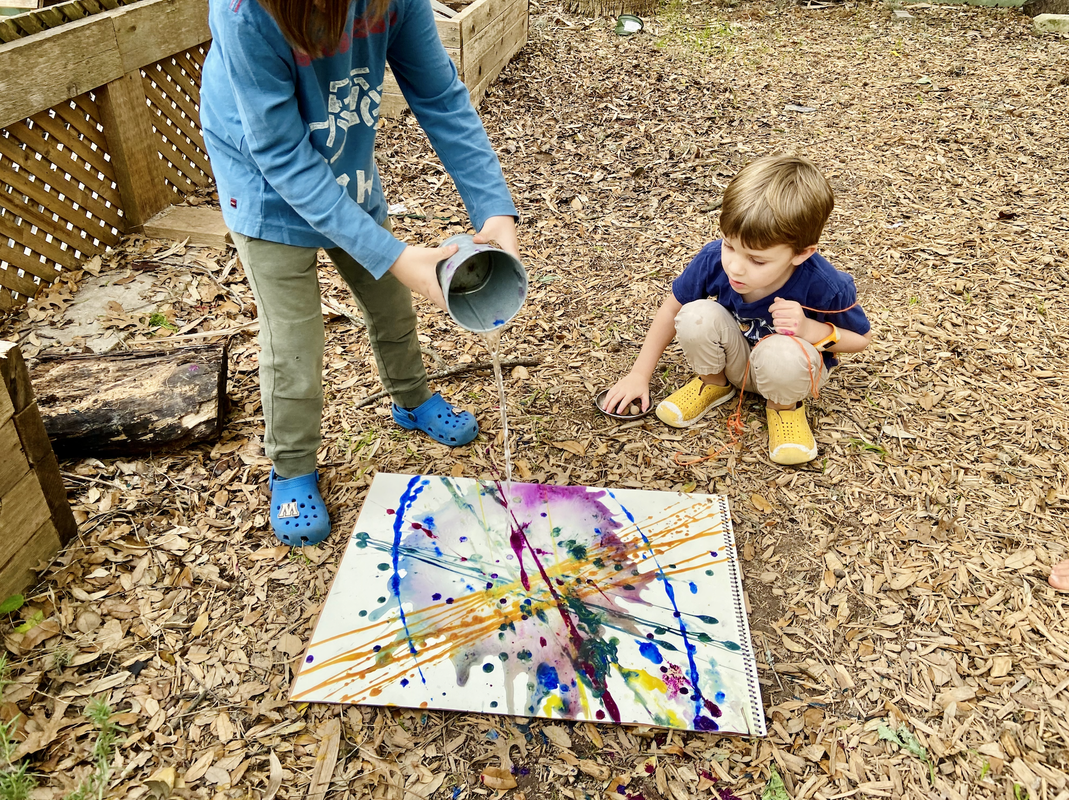
Process art is child-led, choice-driven, open-ended, and celebrates the experience of discovery. The final product of process art will have no right or wrong answers and will be unique and original.
There are many benefits of process art for children. Through process art, children are able to...
- express themselves creatively and imaginatively.
- gain confidence in themselves and their own ideas.
- learn about the possibilities and limitations of various materials.
- use problem-solving and critical thinking skills.
- ask questions, discuss, and experiment.
- embrace experimentation and mistakes as part of the learning process.
- (and, of course) advance their fine and gross motor skills.
Here are some tips for leading processed-focused art at home from the National Association for the Education of Young Children:
- Approach art like open-ended play — for example, provide a variety of materials and see what happens as the child leads the art experience
- Make art a joyful experience. Let children use more paint, more colors, and make more and more artwork
- Provide plenty of time for children to carry out their plans and explorations
- Let children come and go from their art at will
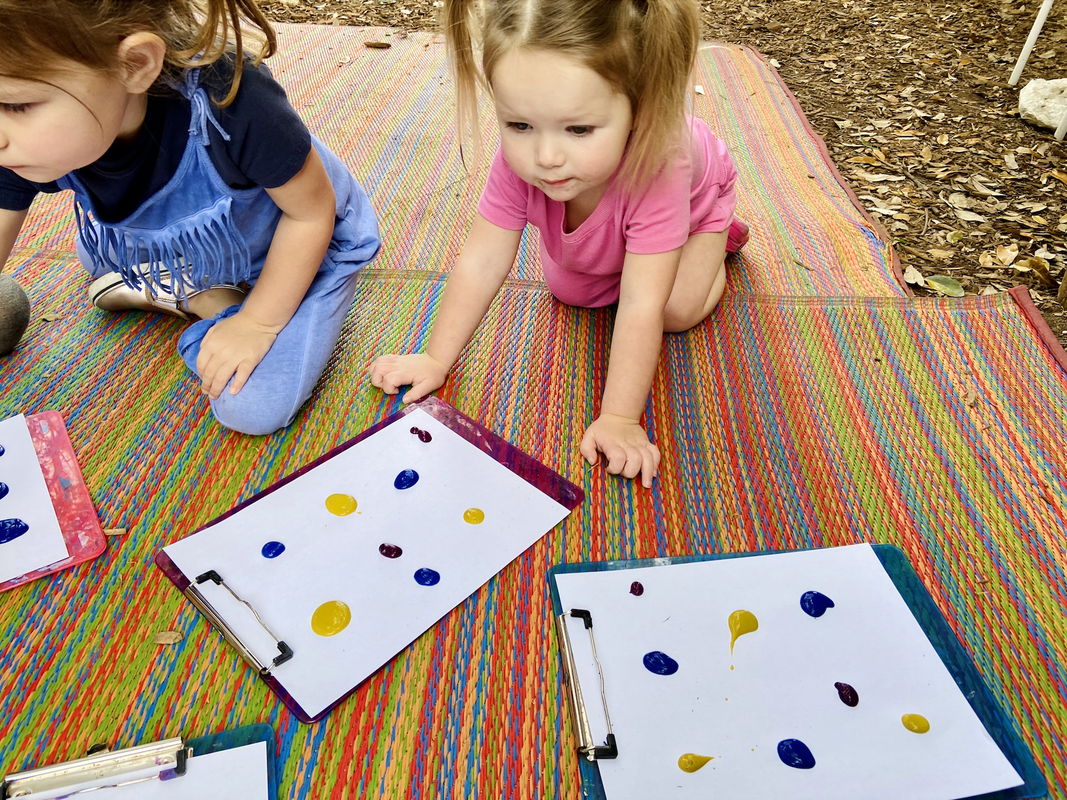
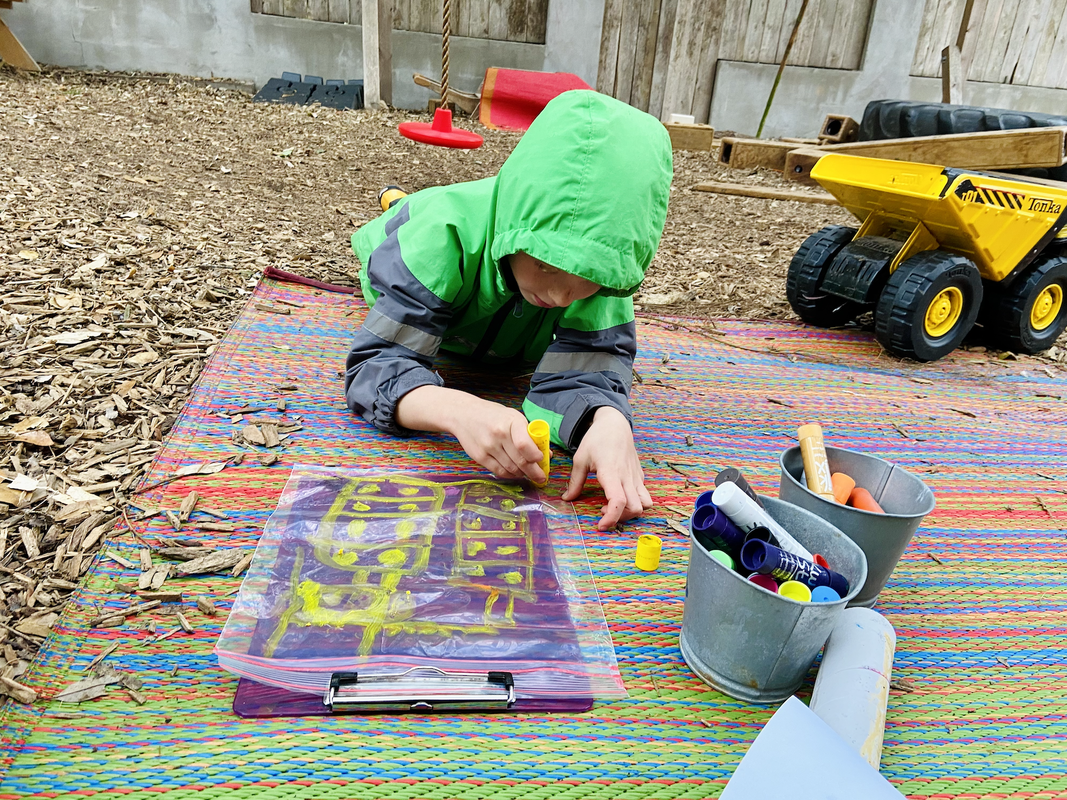
- Notice and comment on what you see: Look at all the yellow dots you painted
- Say YES to children’s ideas
- Offer new and interesting materials
- Play music in the background
- Take art materials outside in the natural light
- Display children’s books with artful illustrations, such as those by Eric Carle, Lois Ehlert, and Javaka Steptoe
- Let the children choose whether their art goes home or stays in the classroom
- Remember that it’s the children’s art, not yours
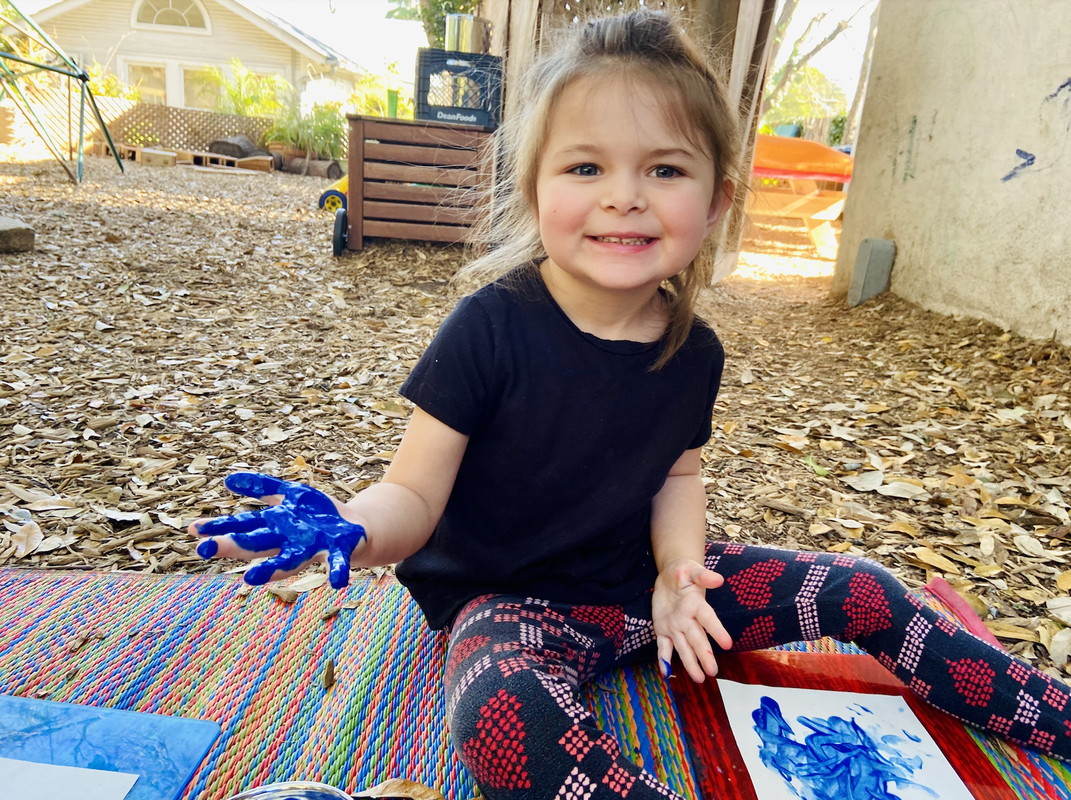
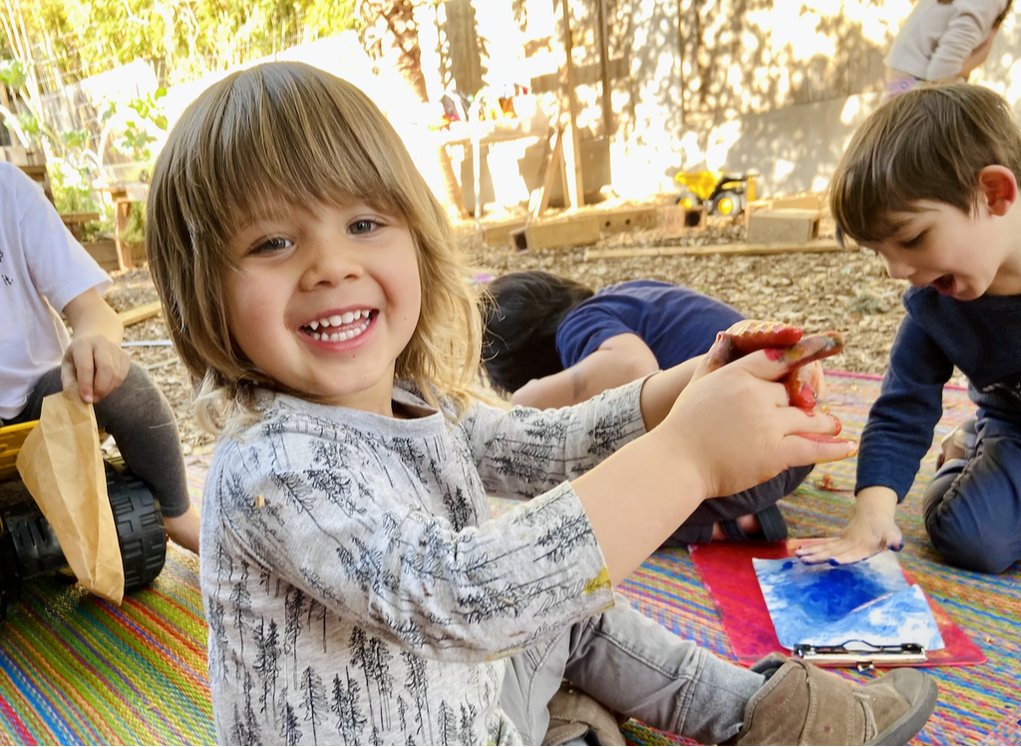
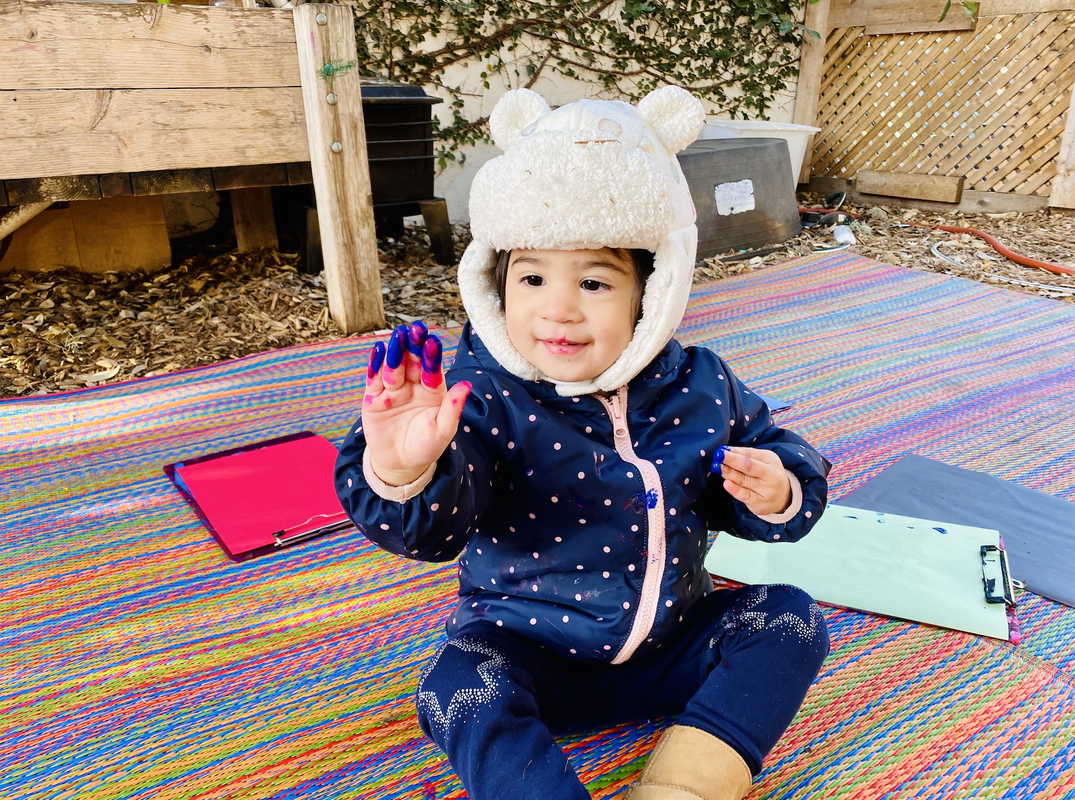
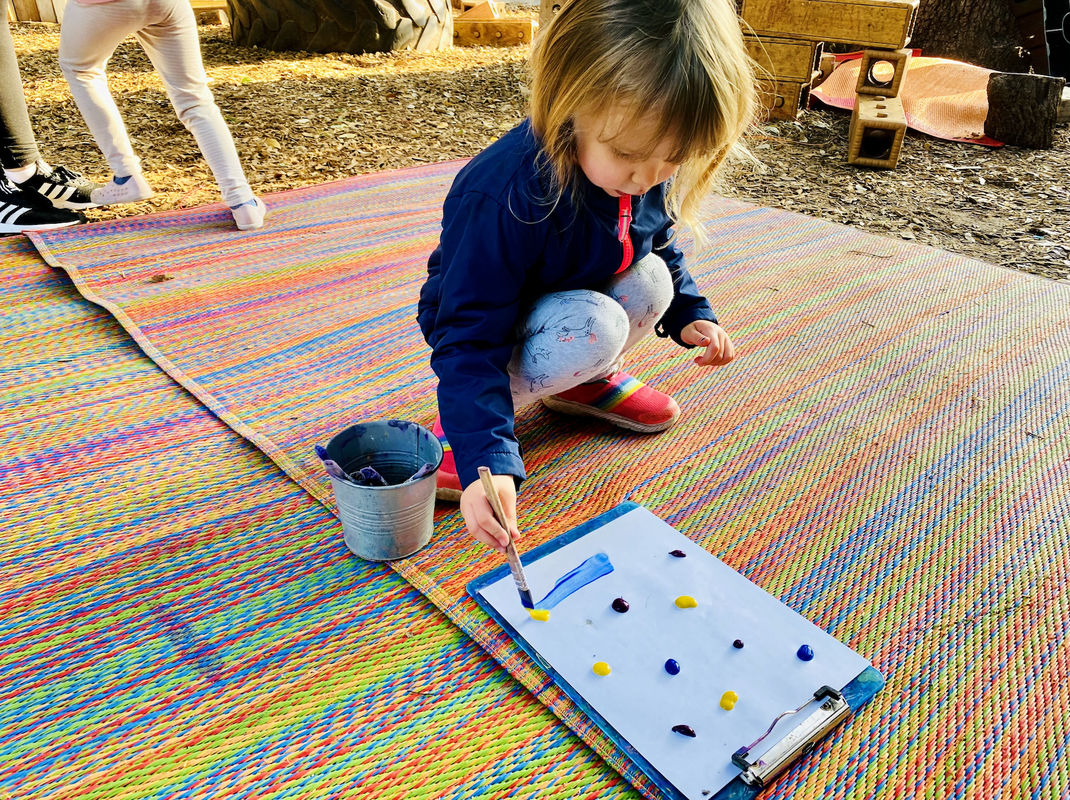
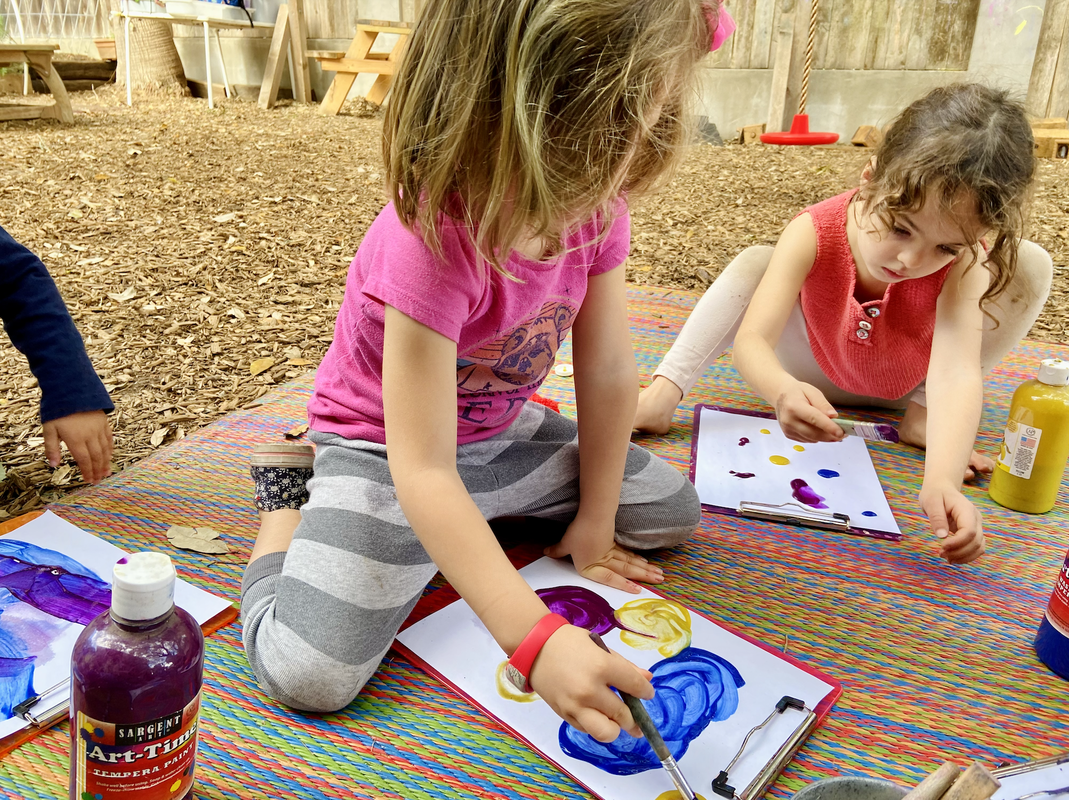
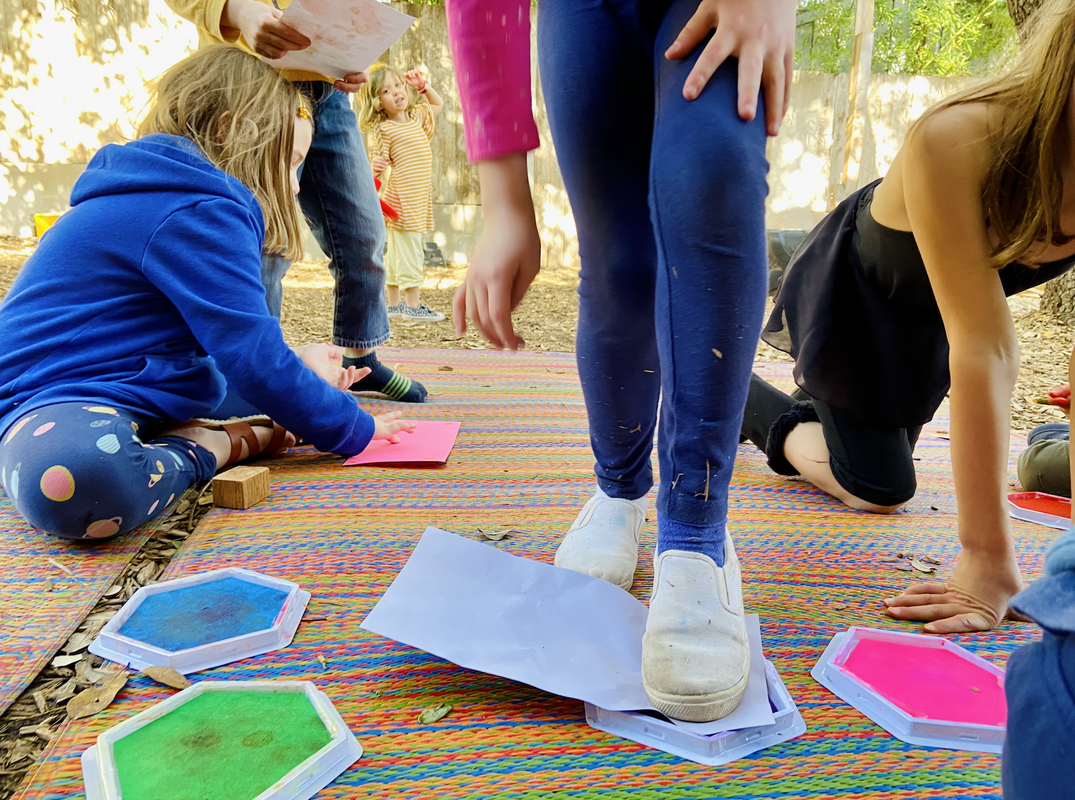
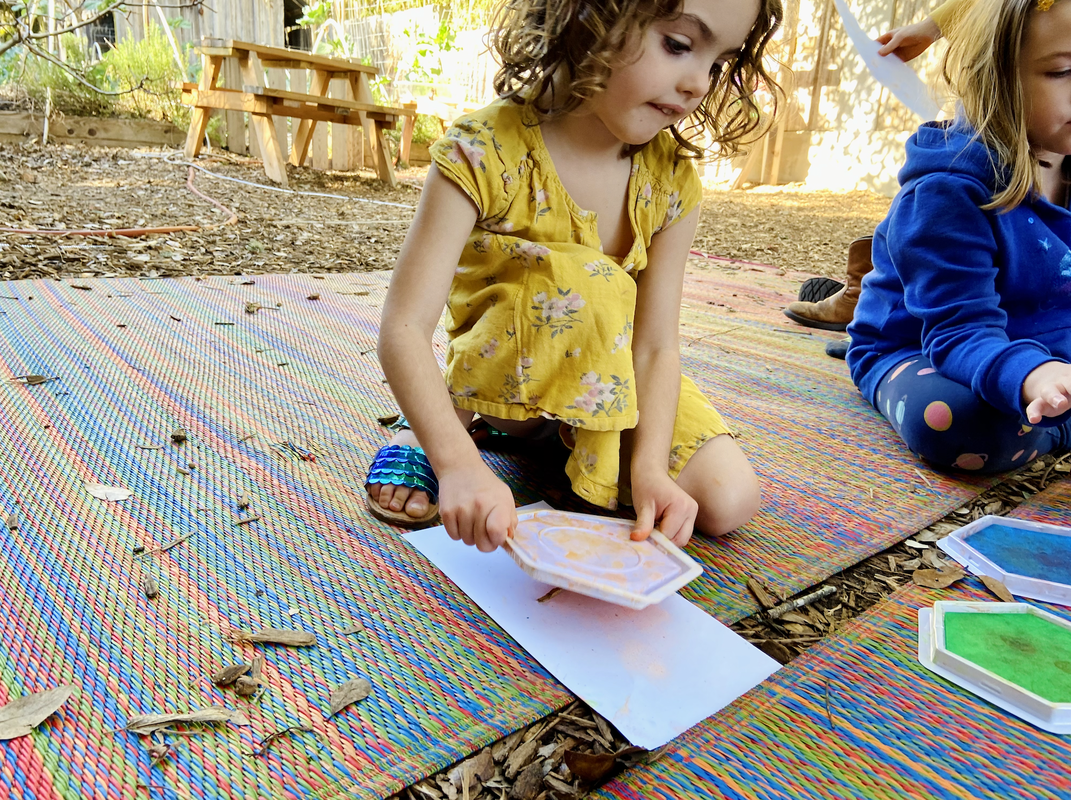
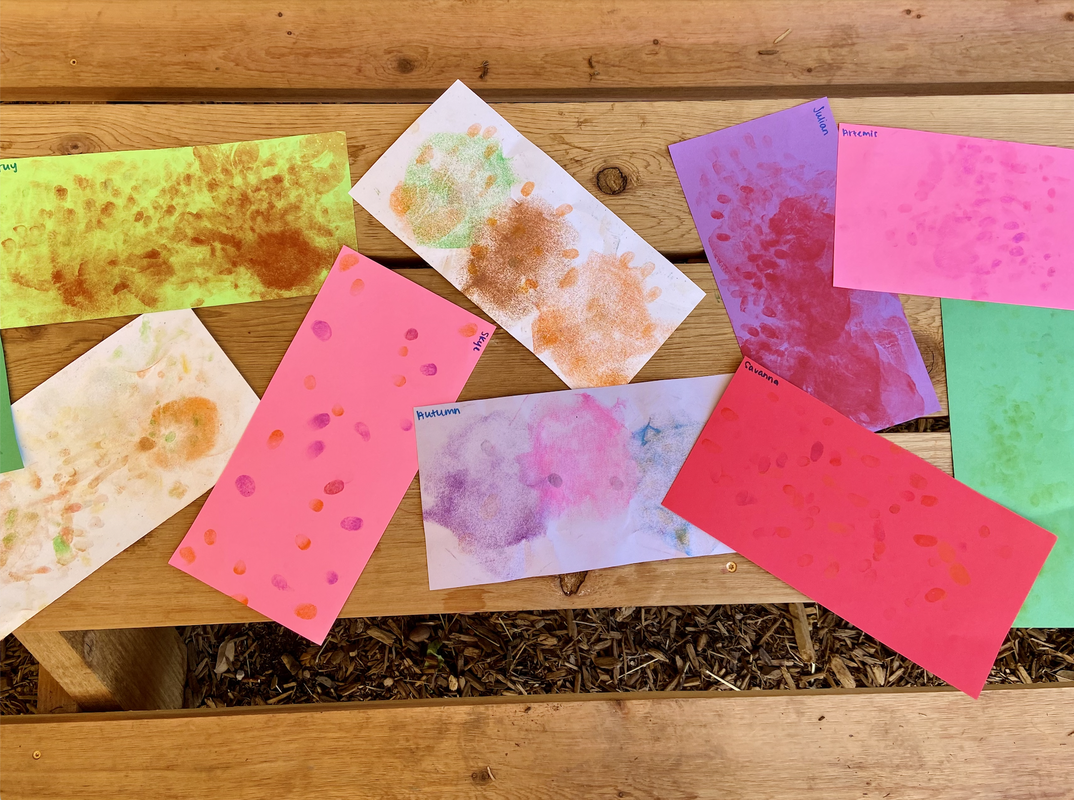
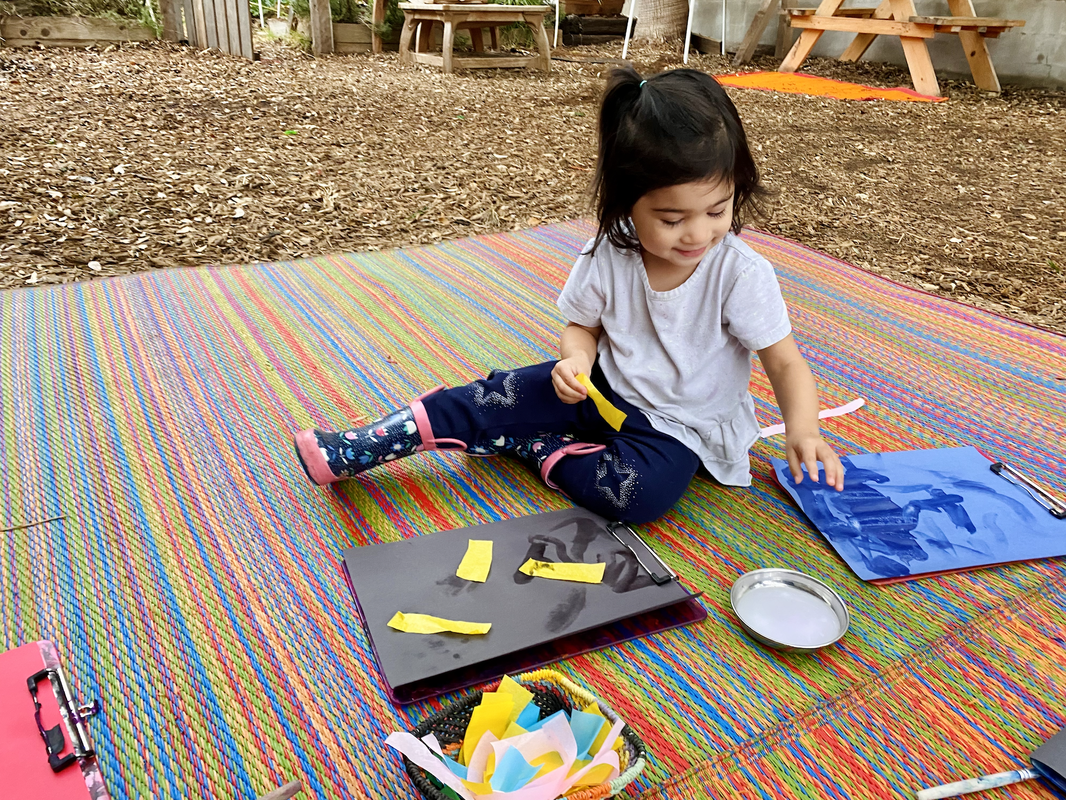
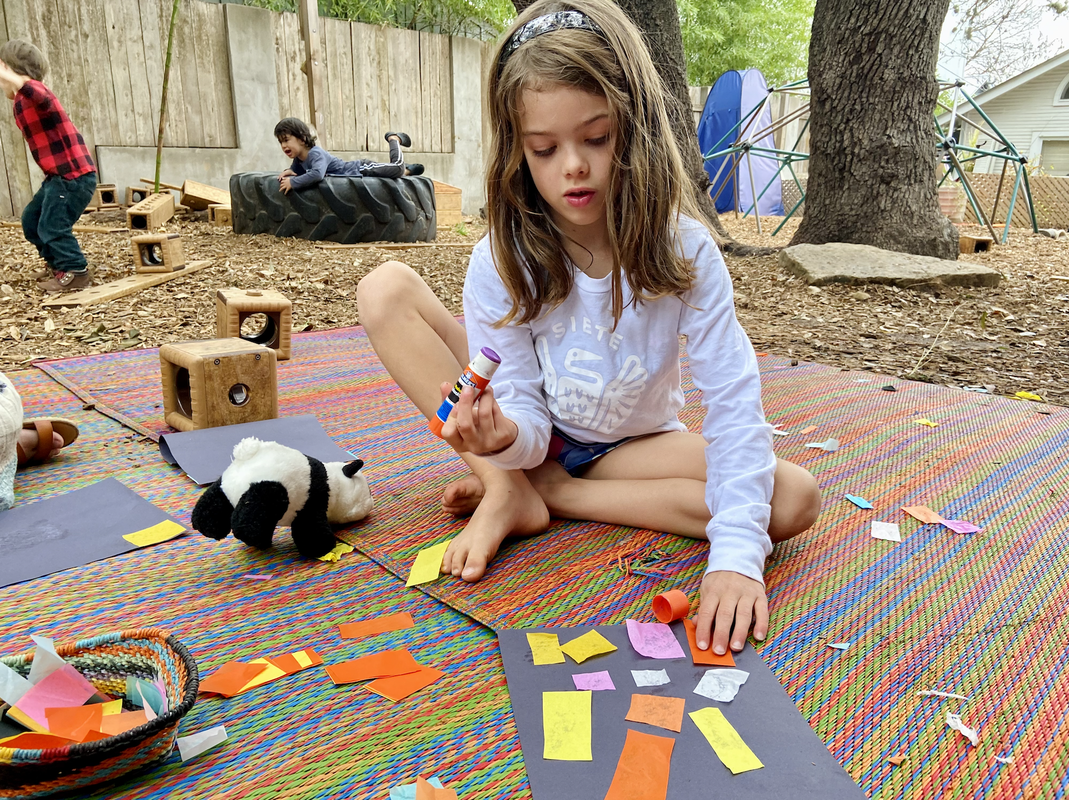
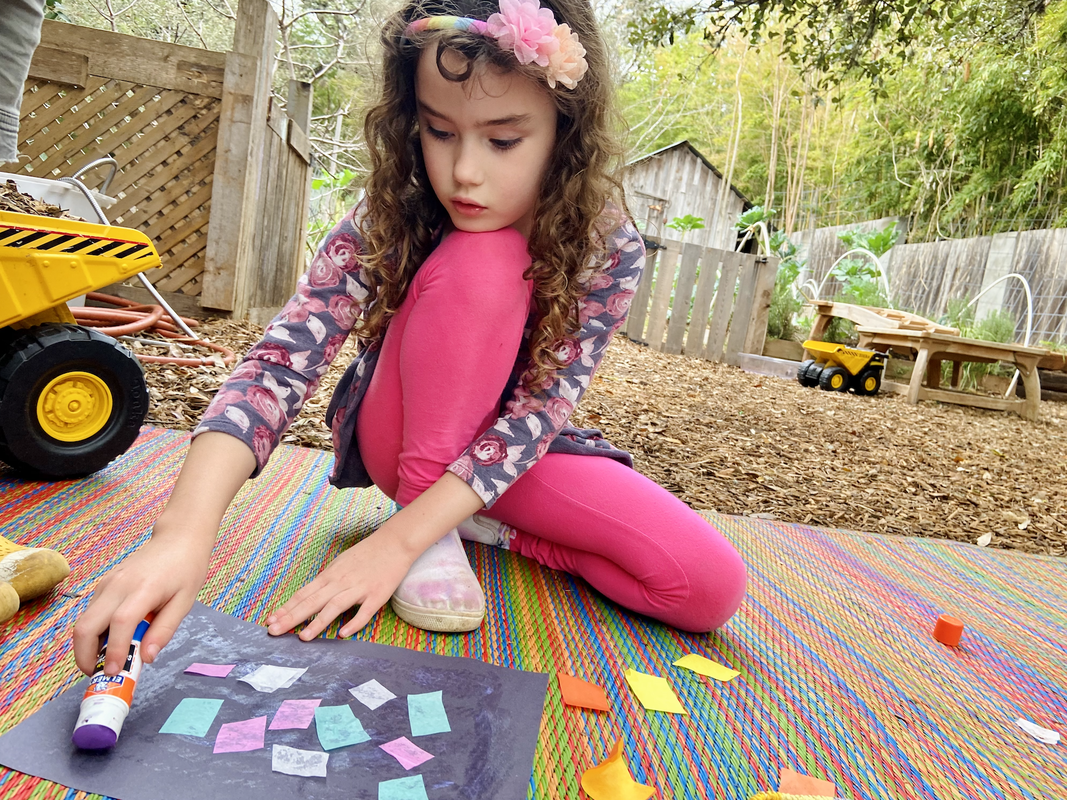
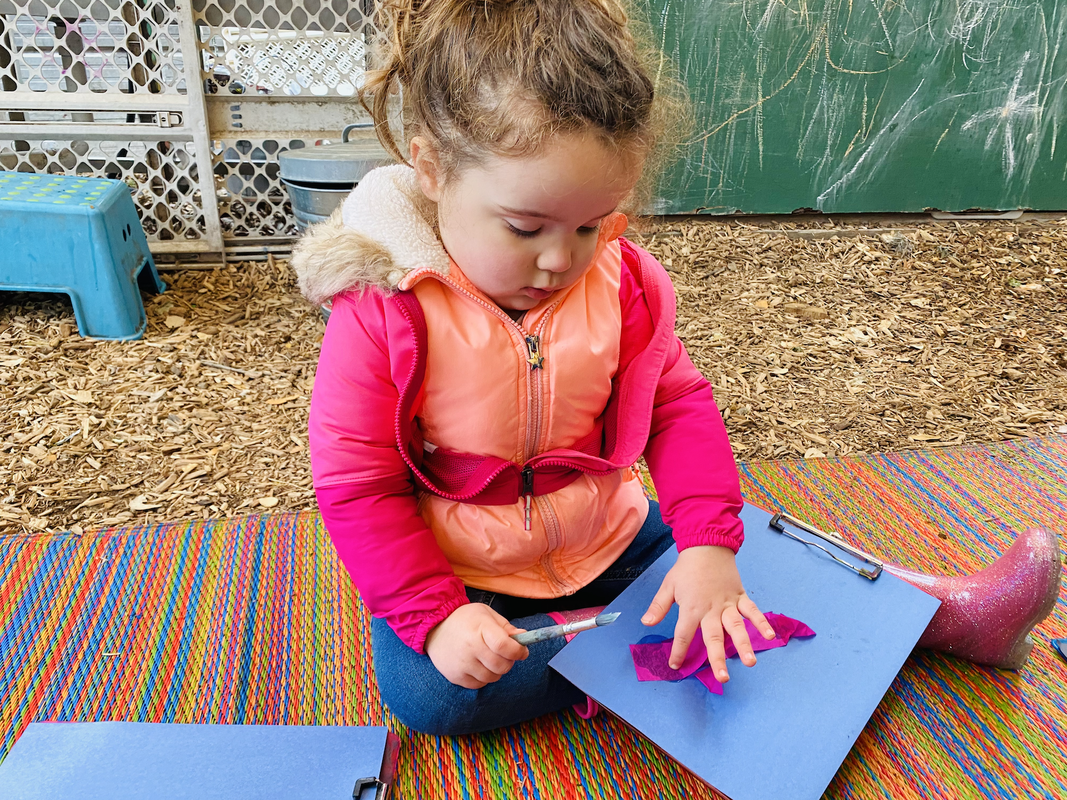
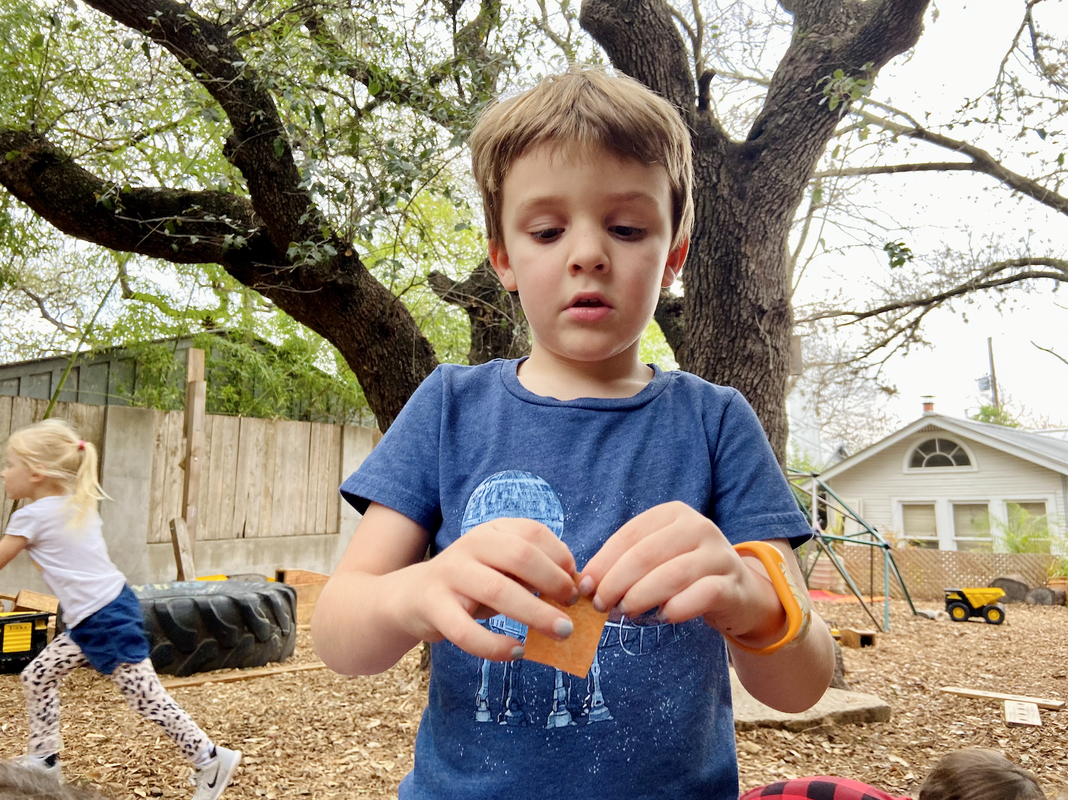
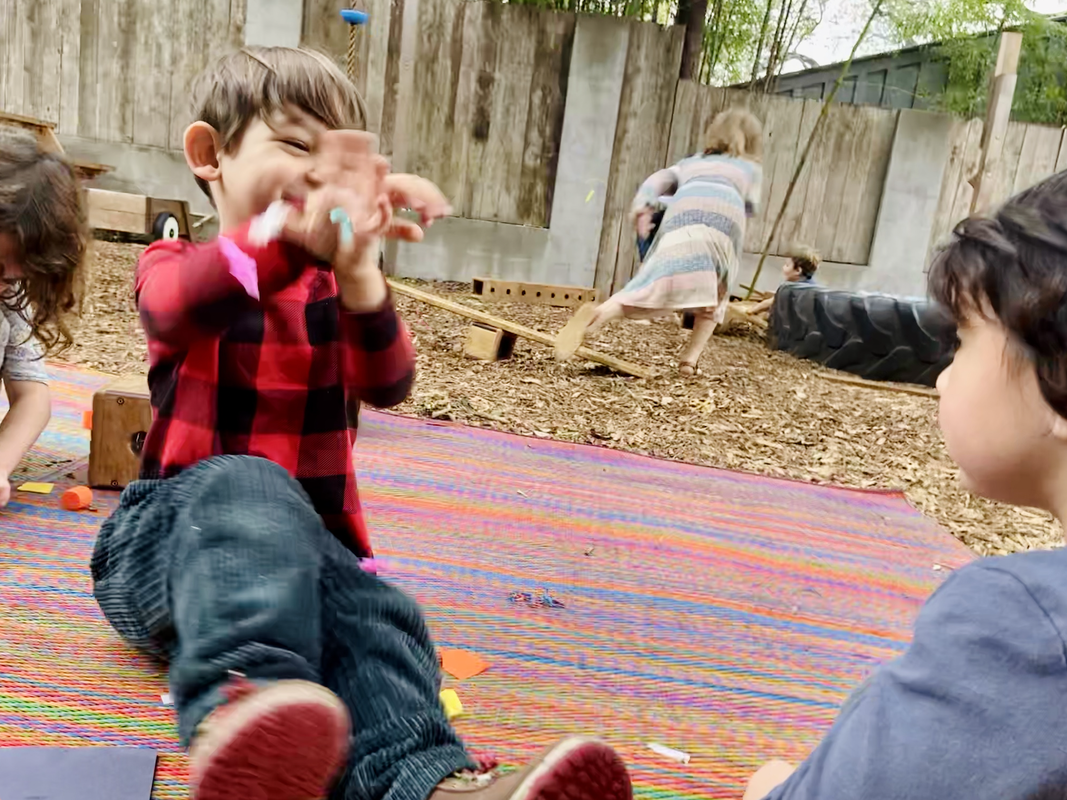
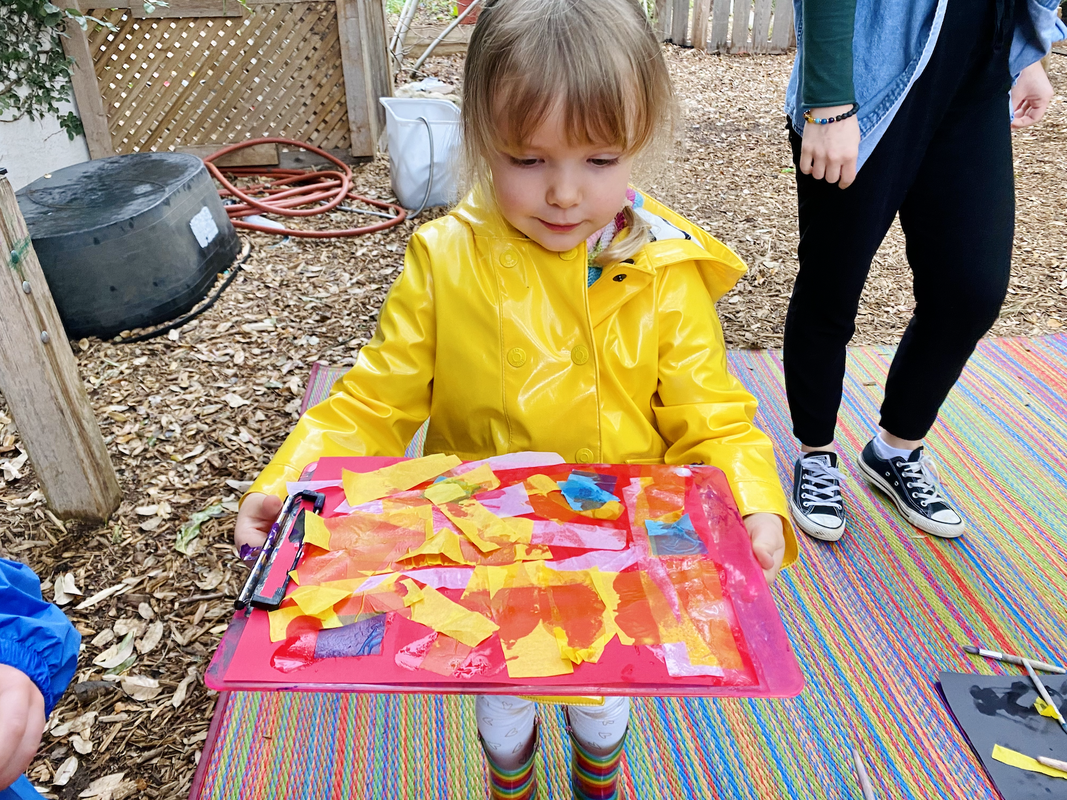
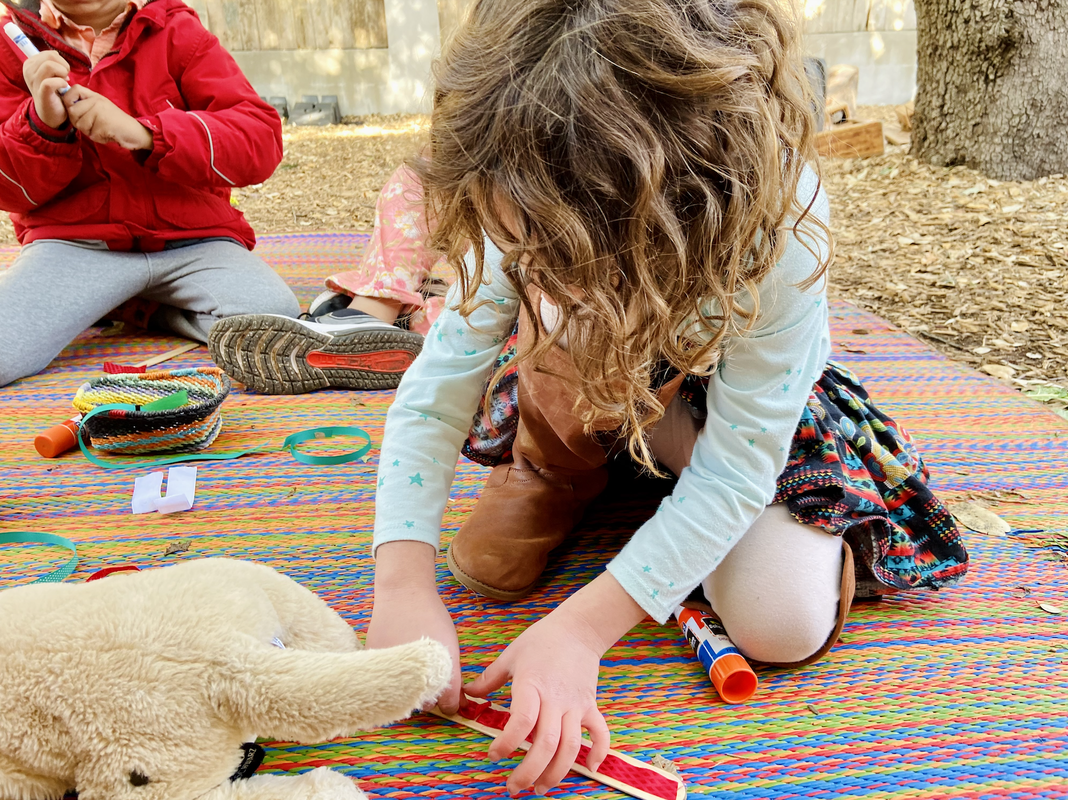
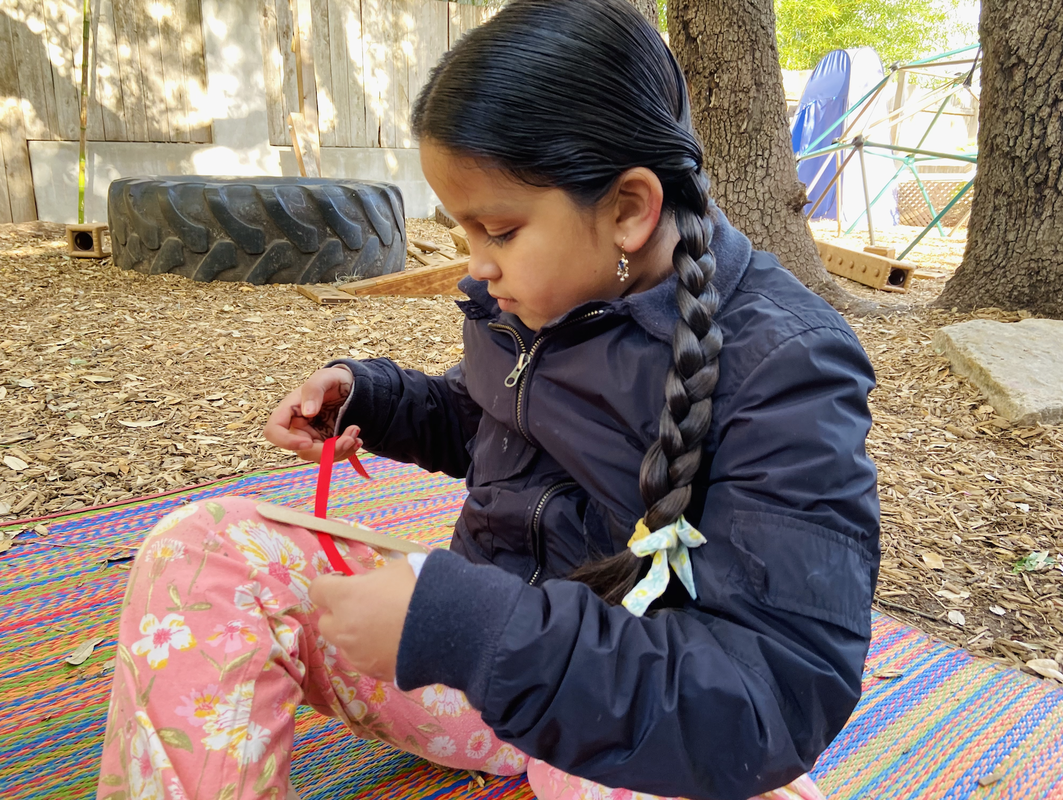
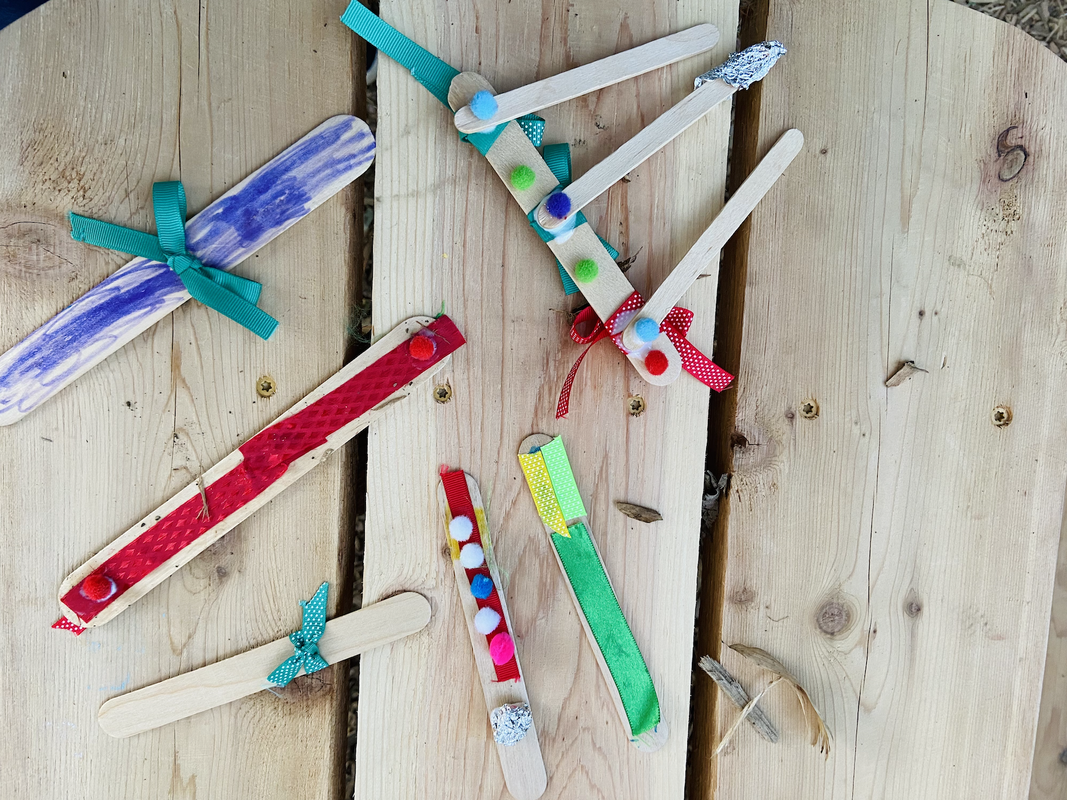
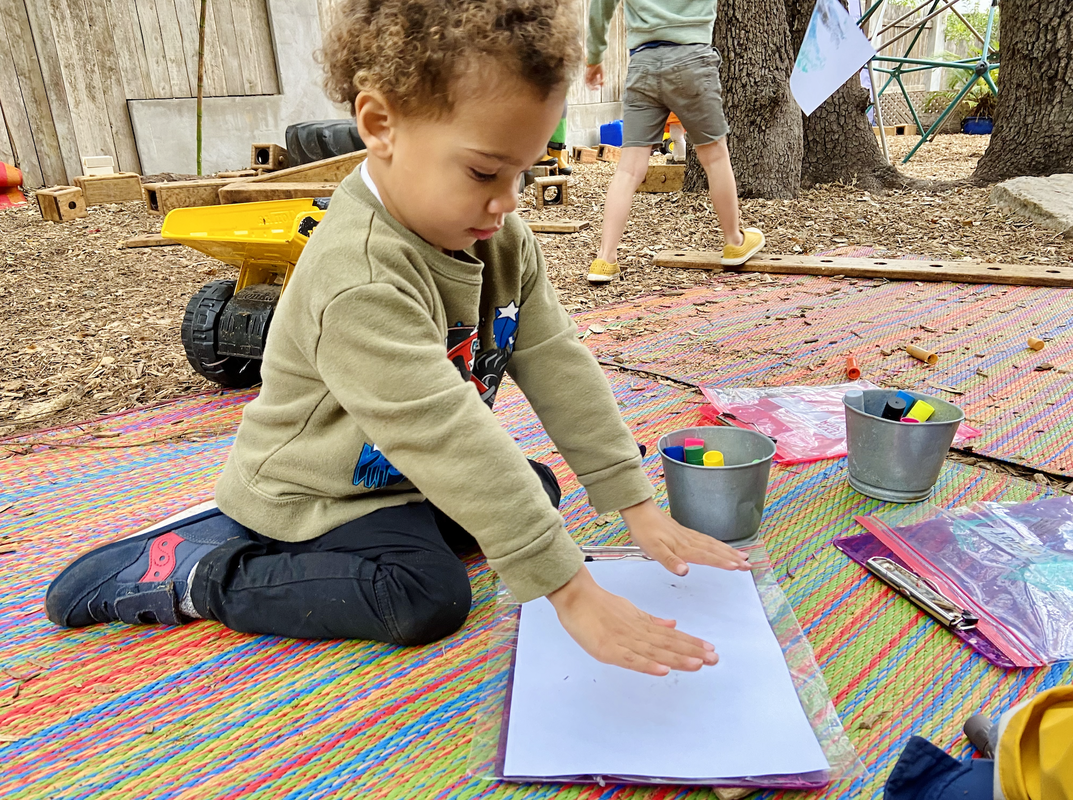
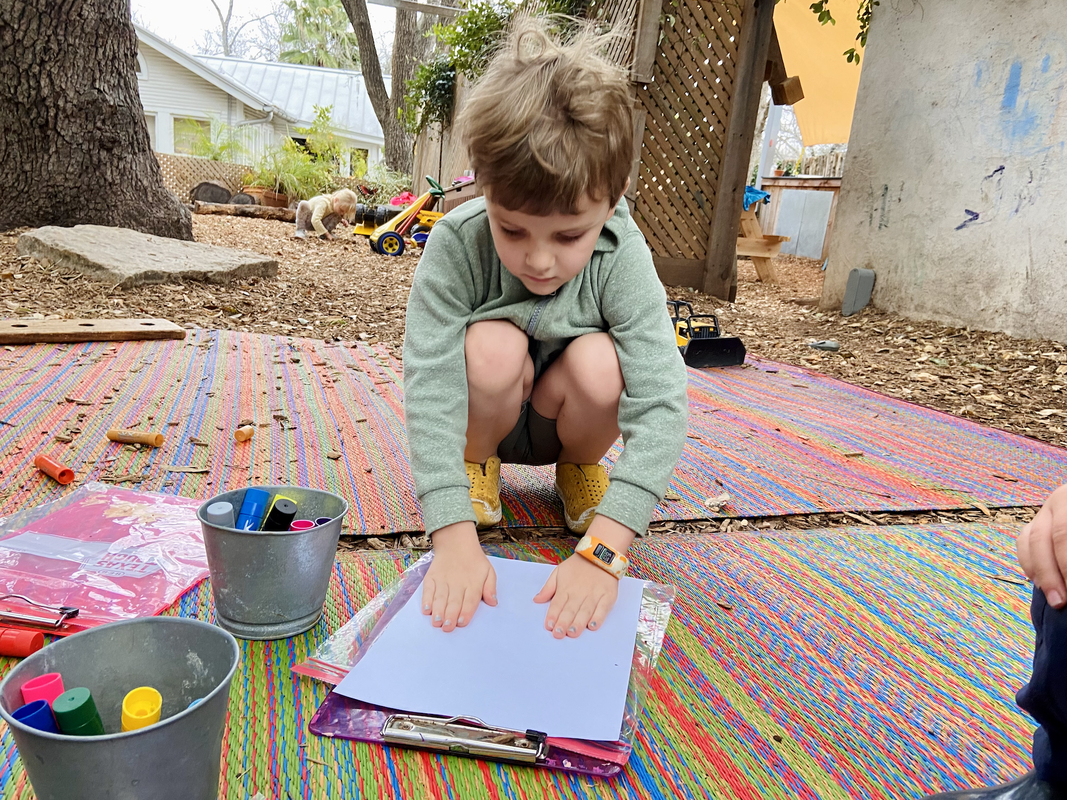
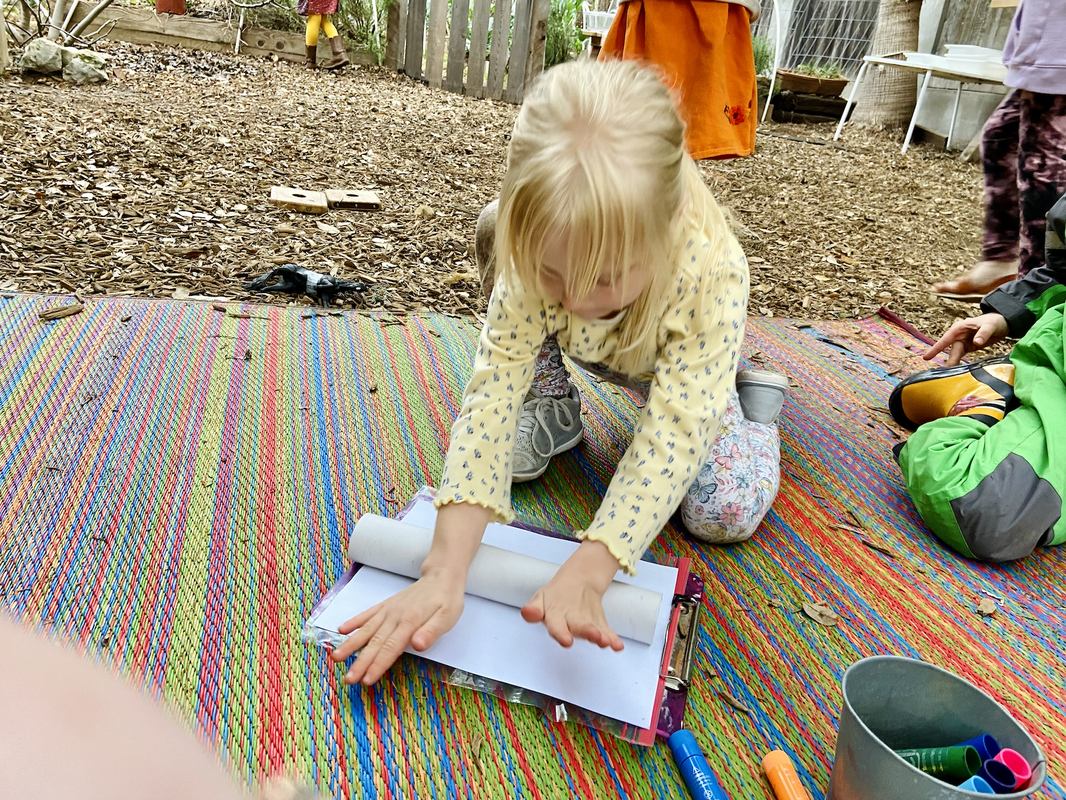
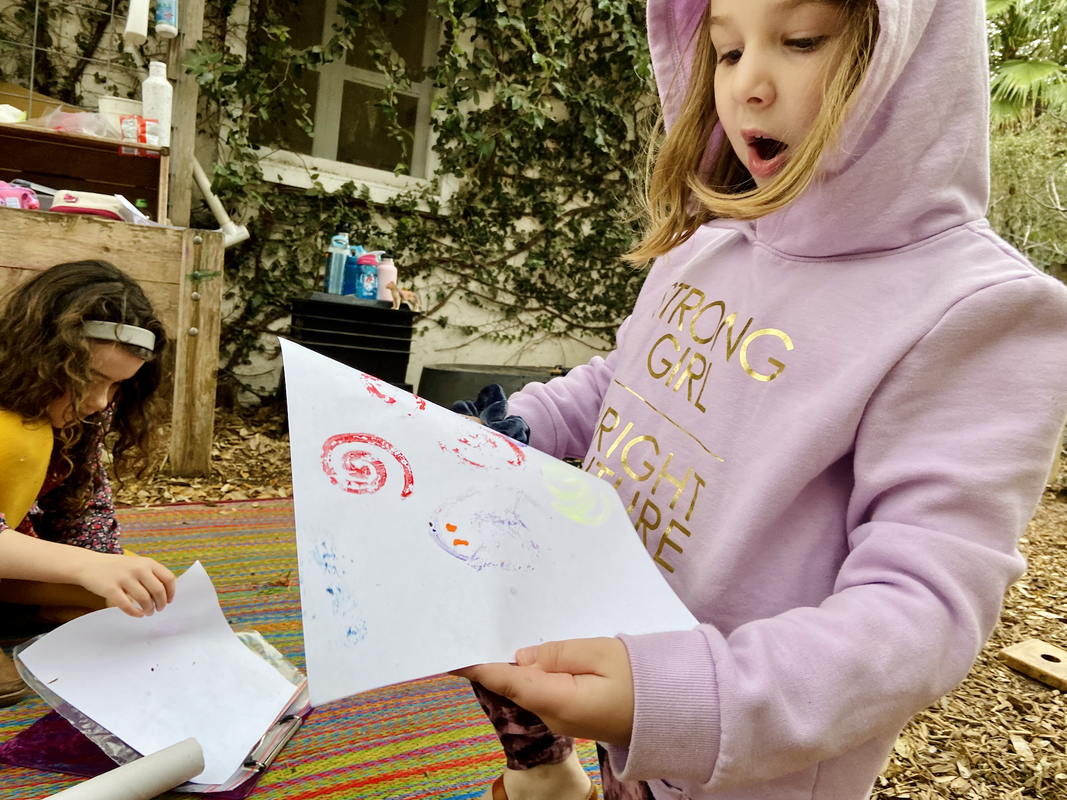
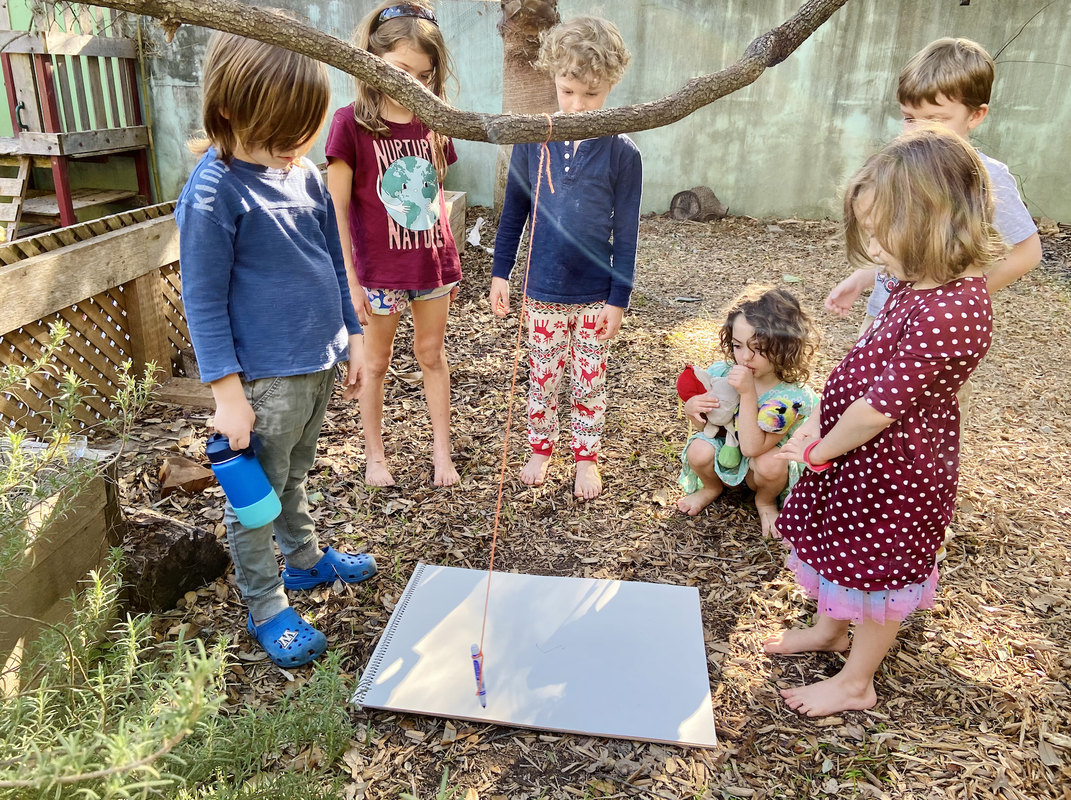
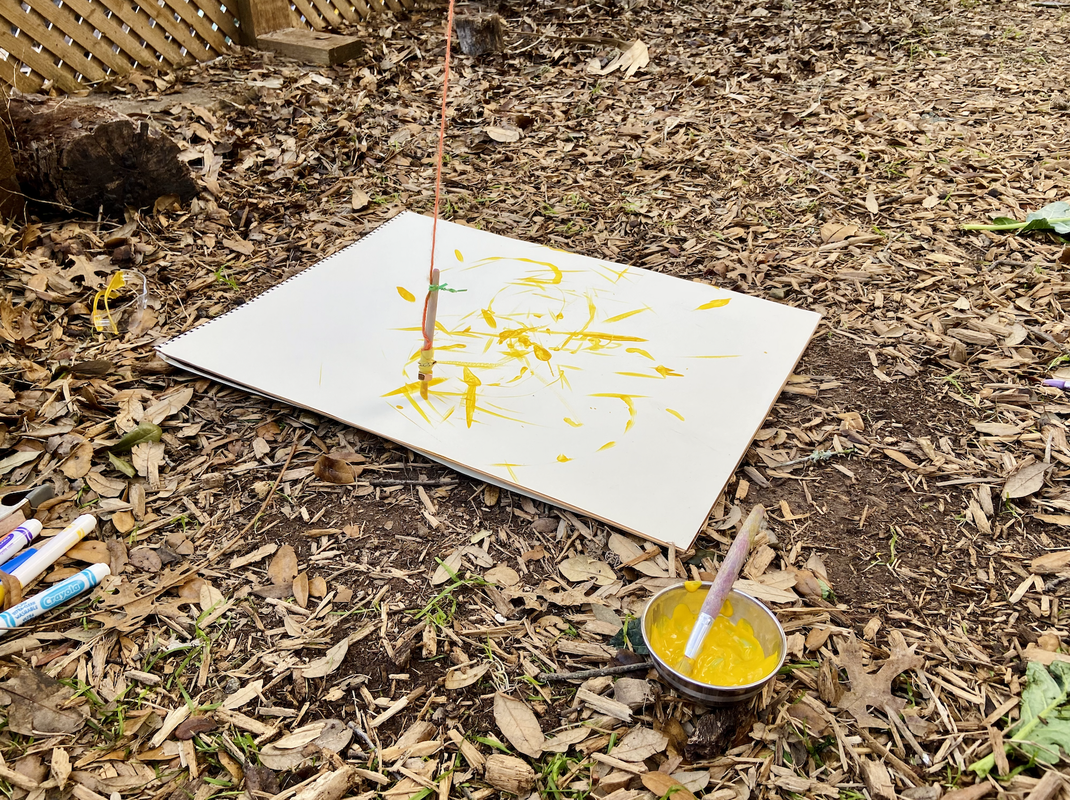
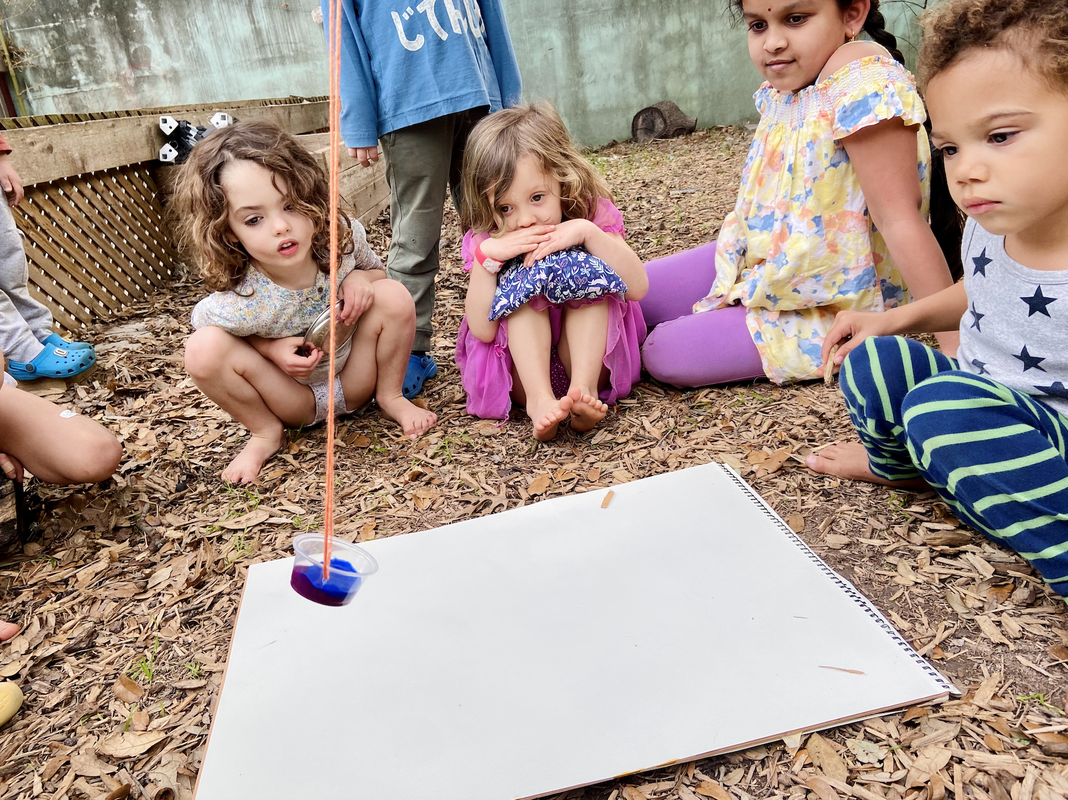
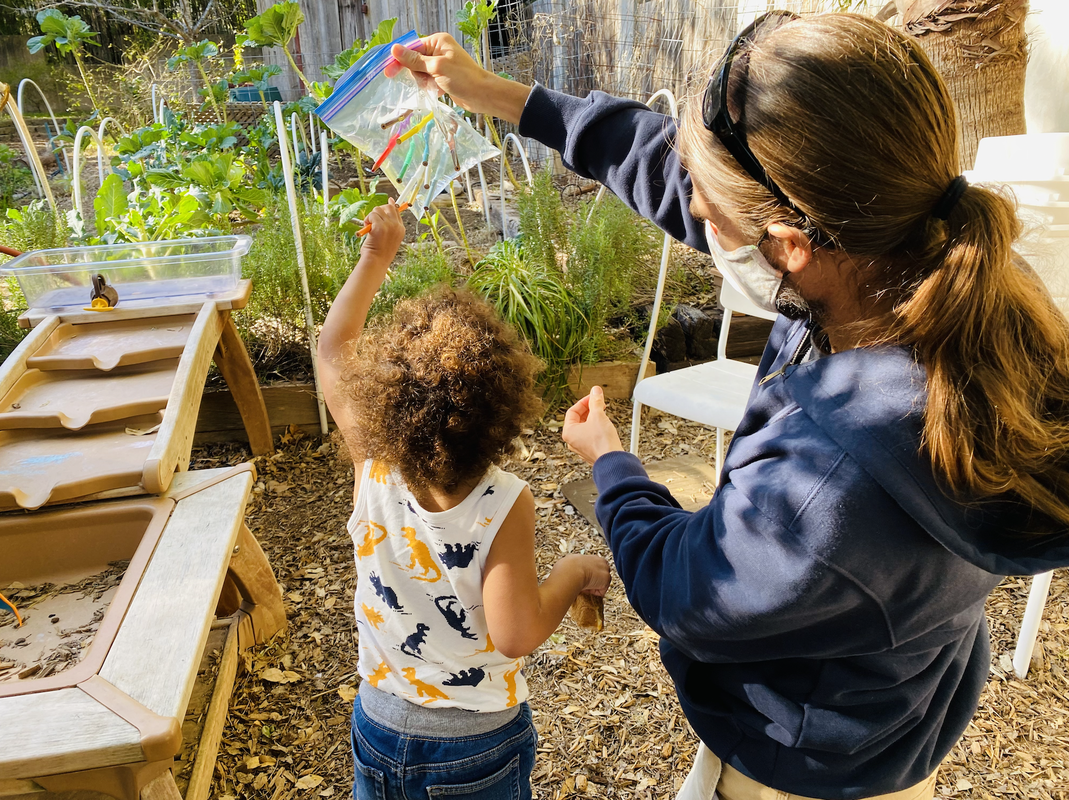
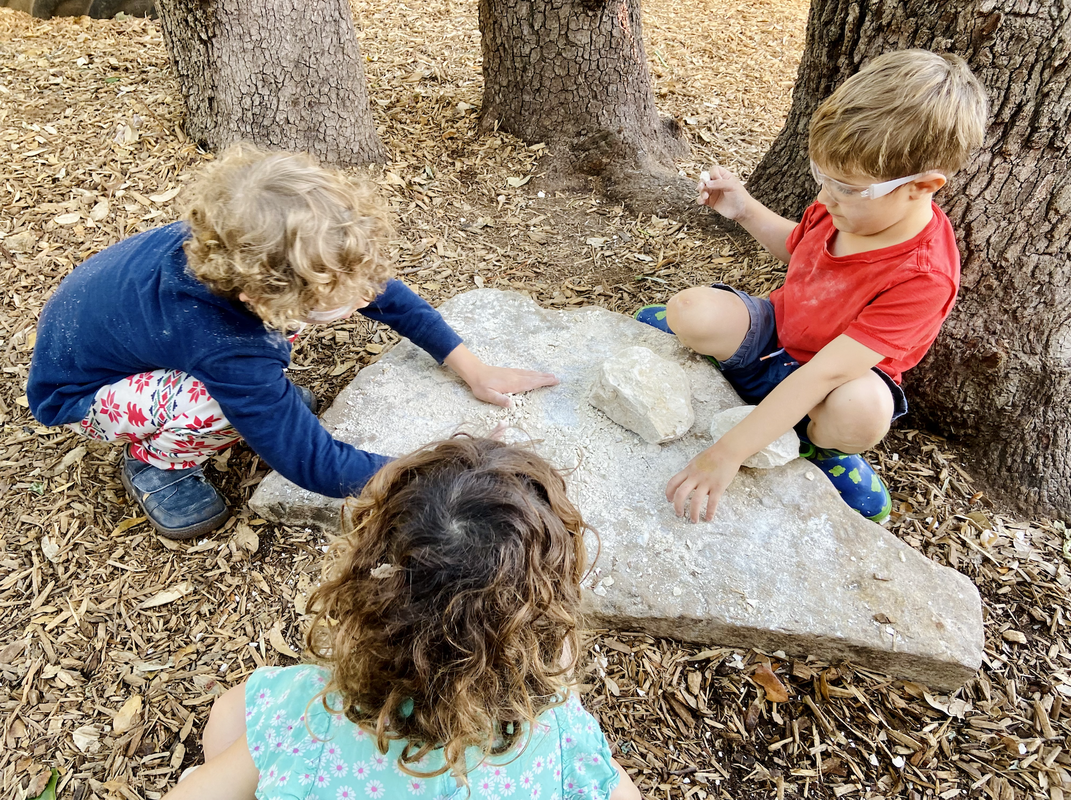
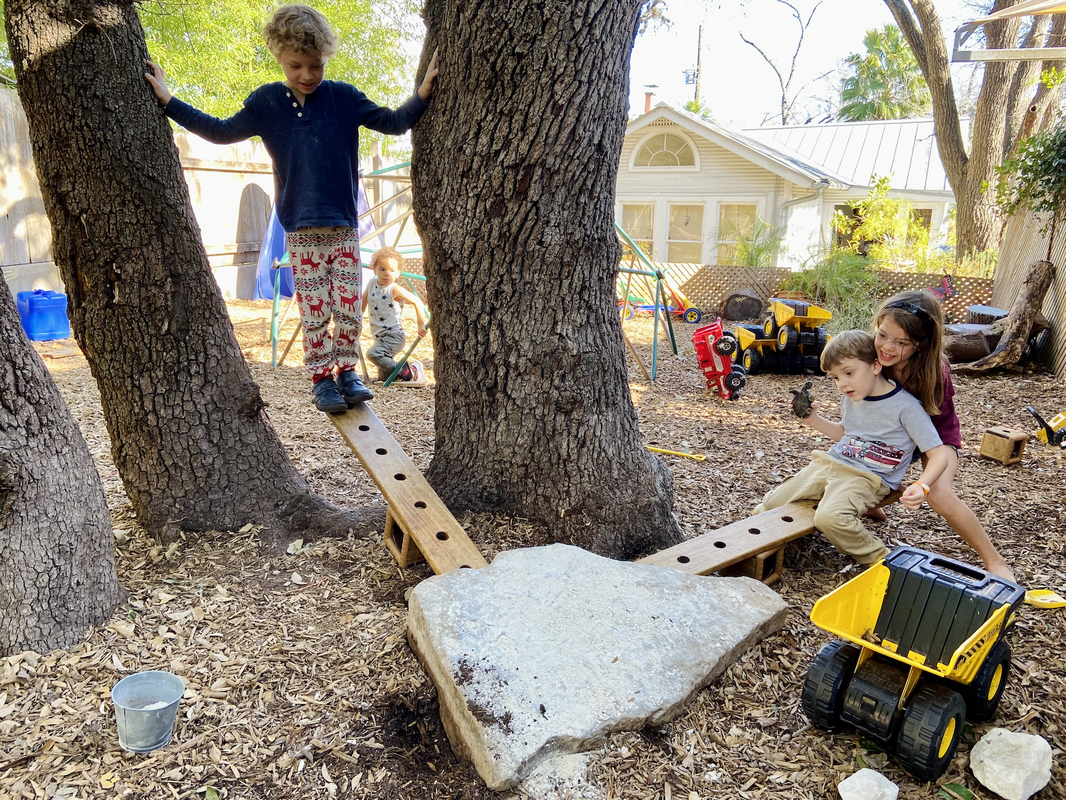
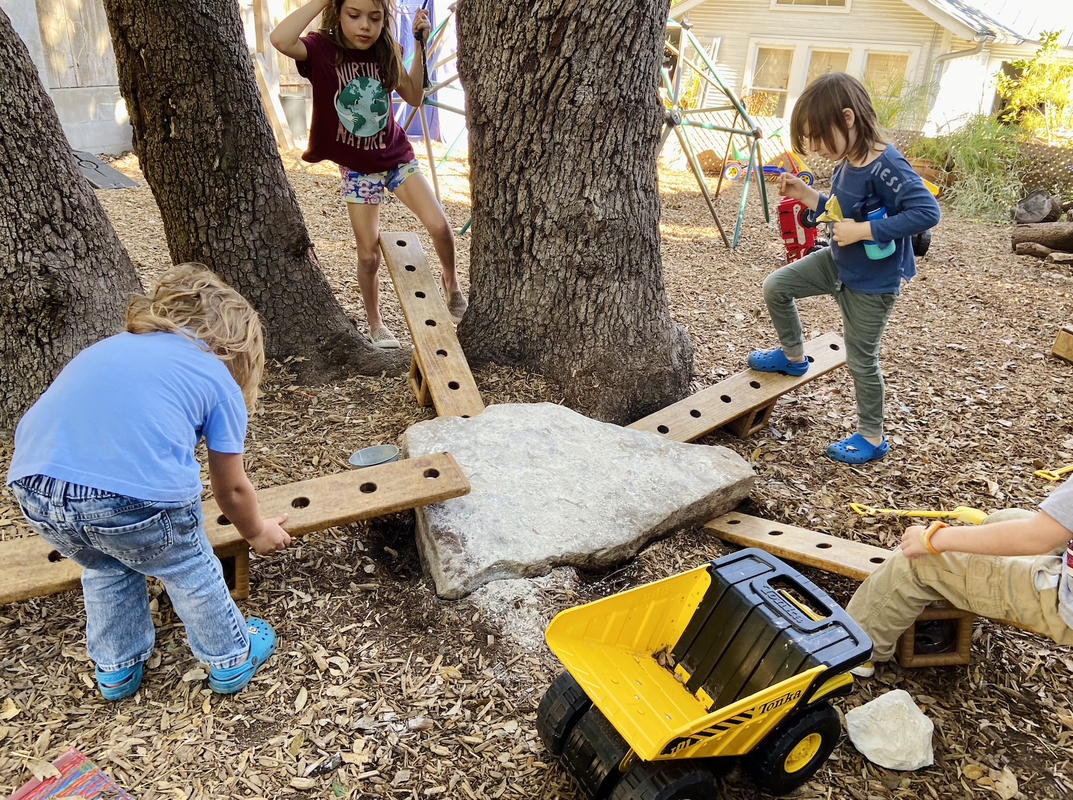
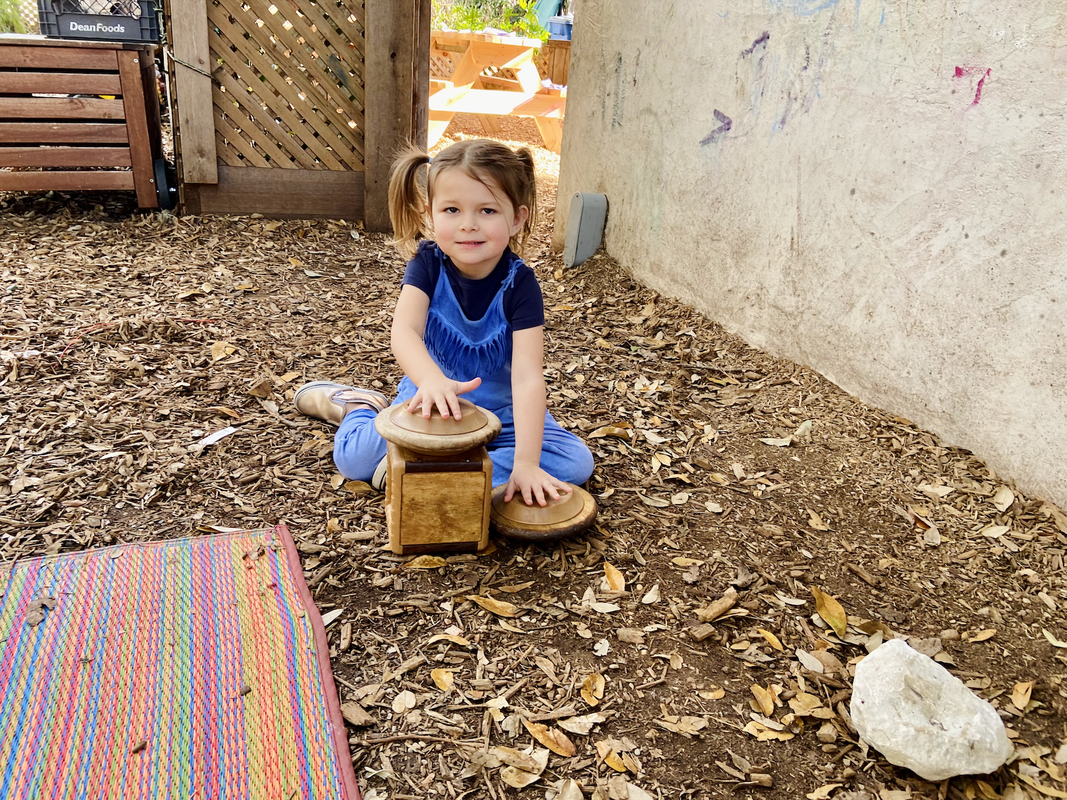
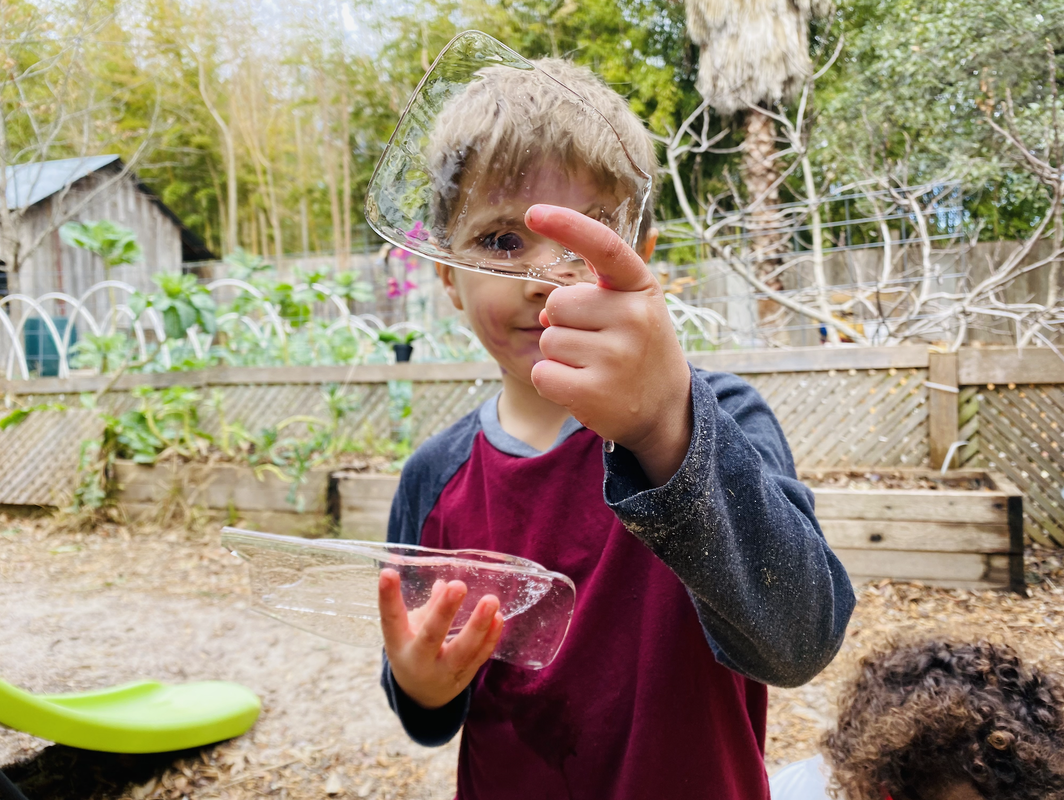
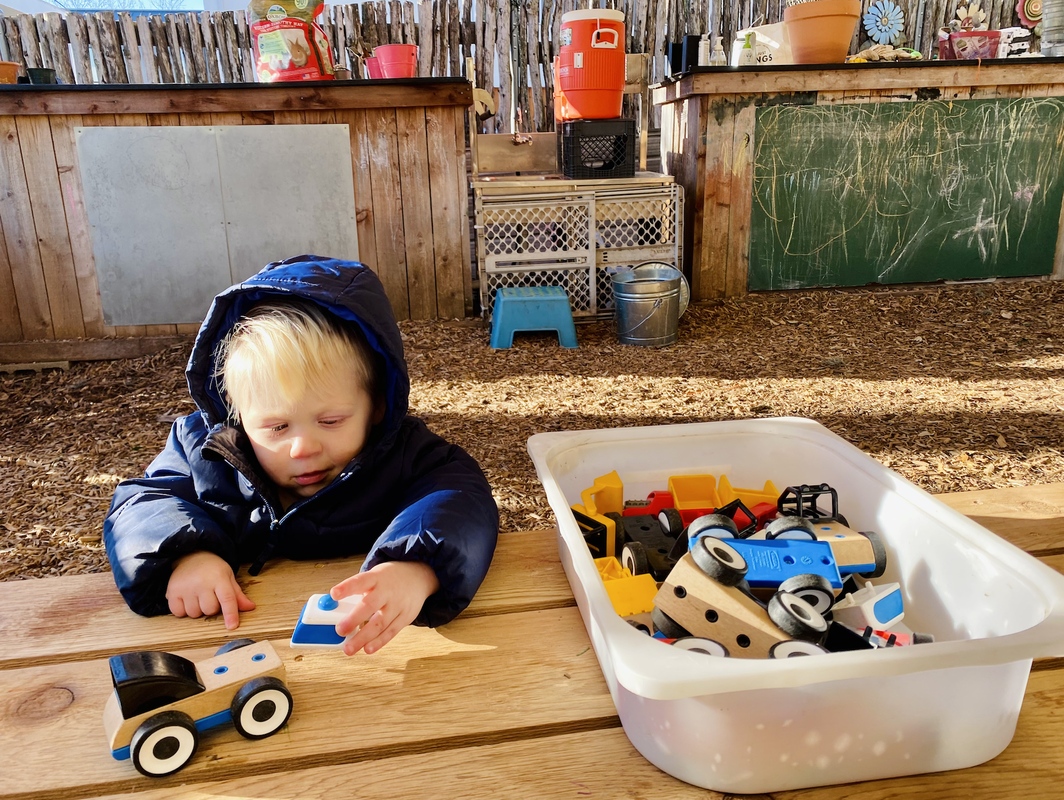
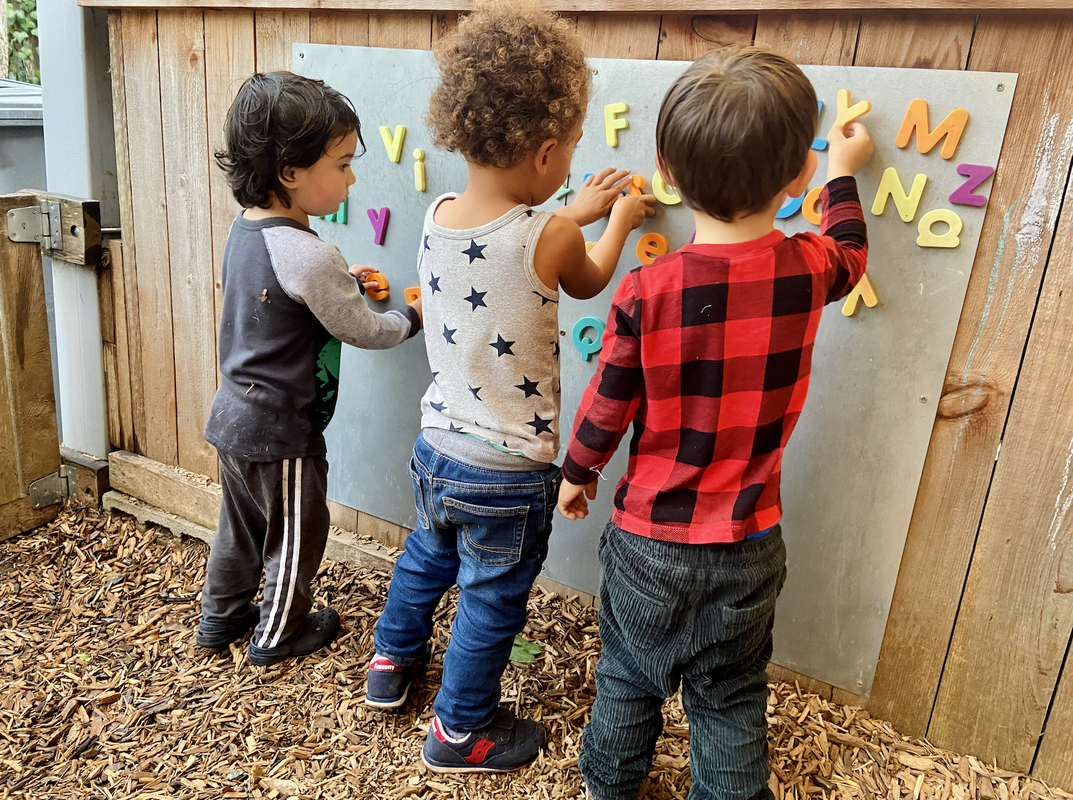
Check out below some of the super fun and creative art activities we did this month!
Process Art with Painting
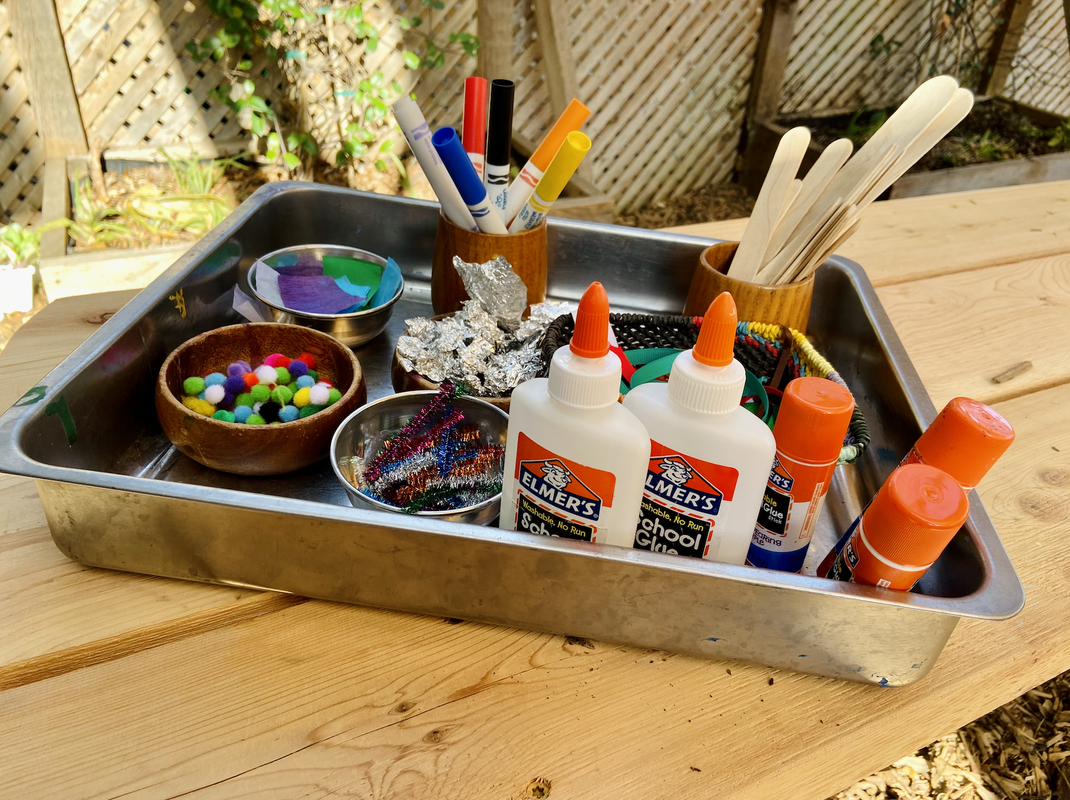
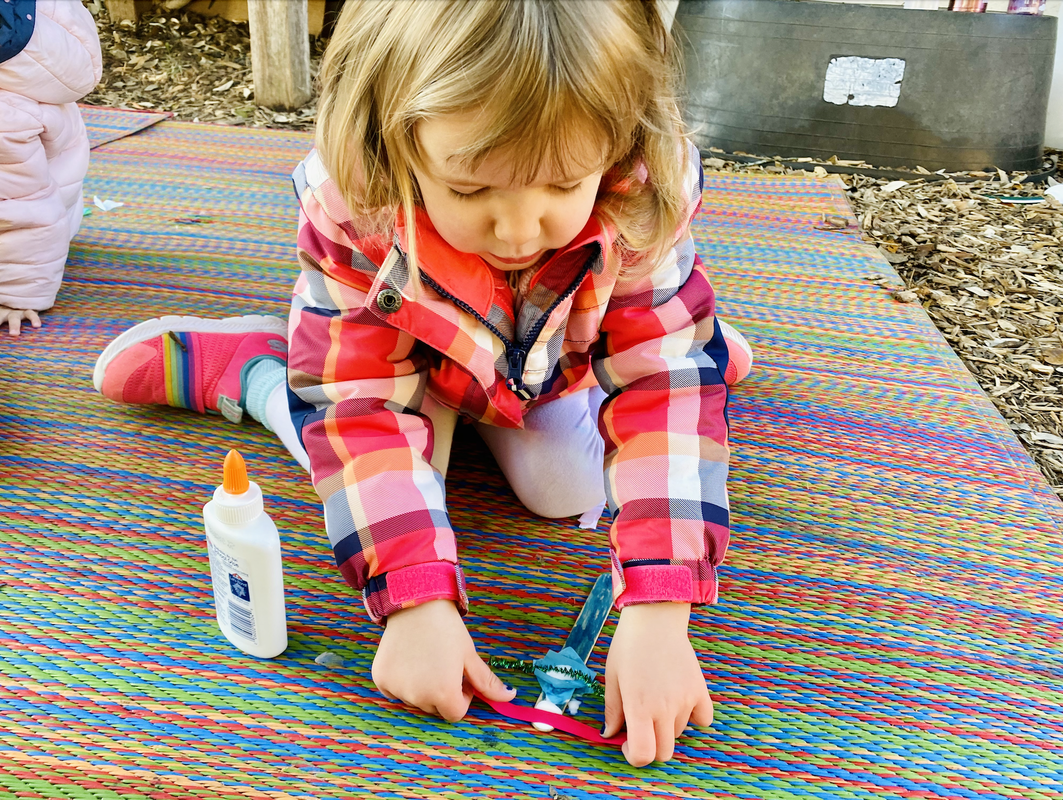
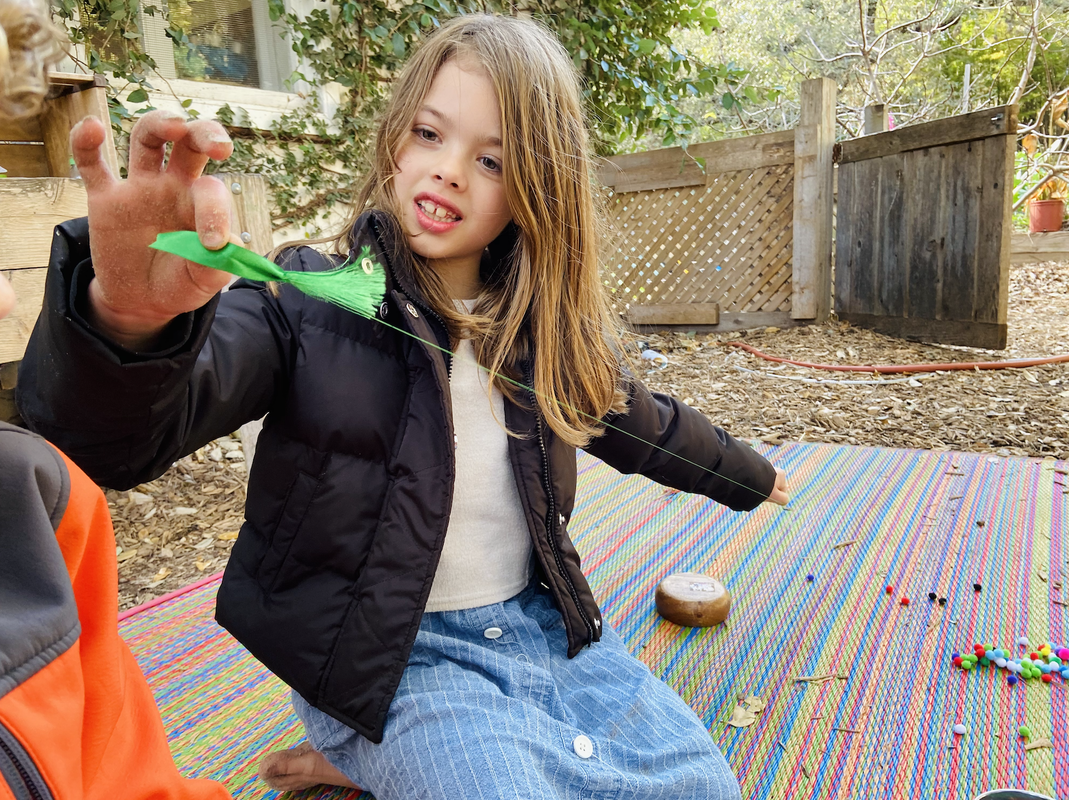
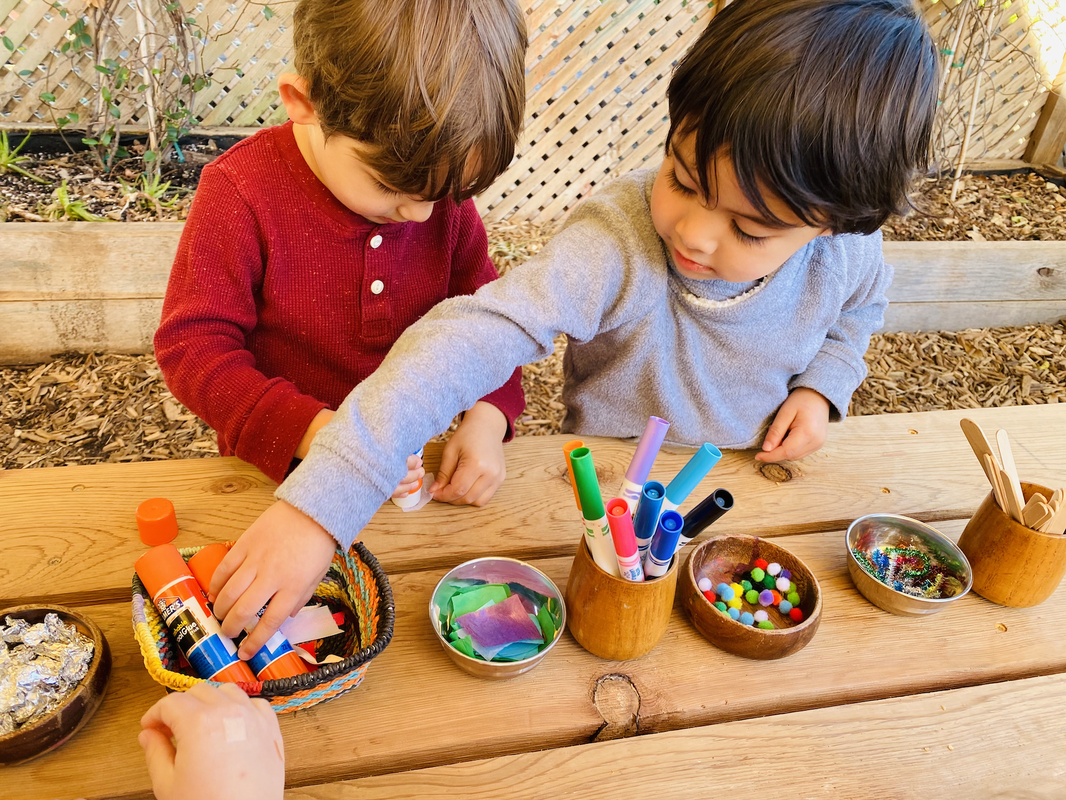
Mixed Media Process Art
"I'm throwing the paper!"
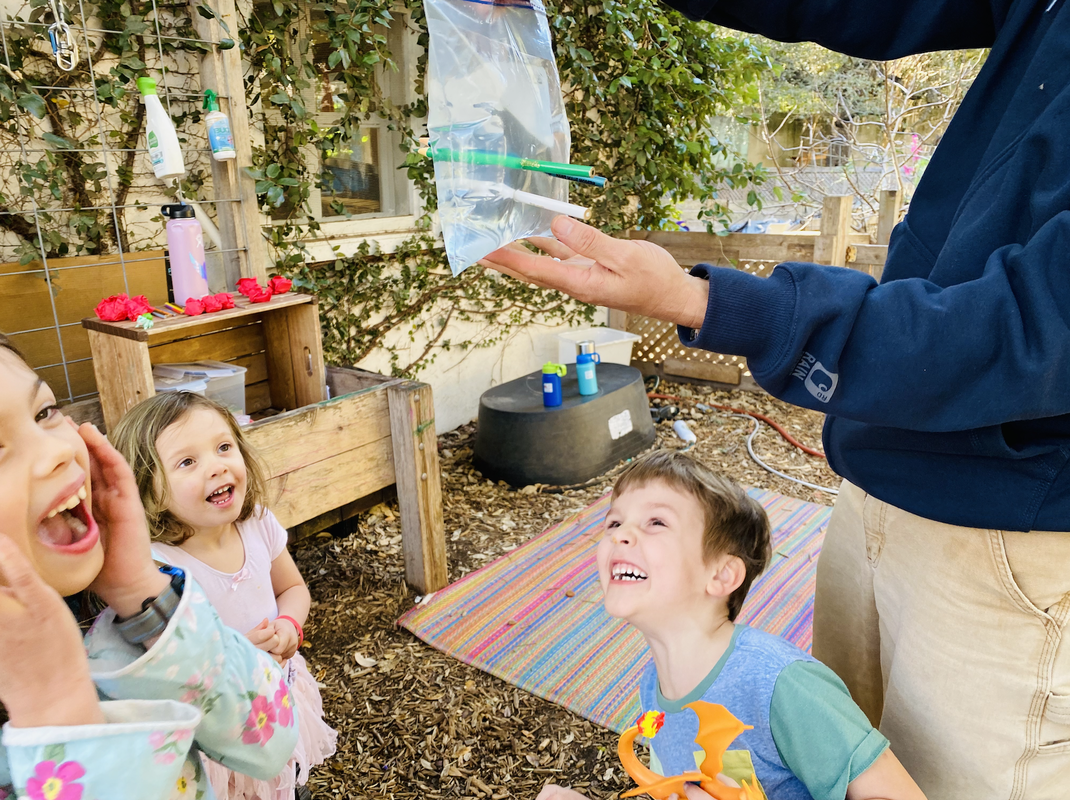
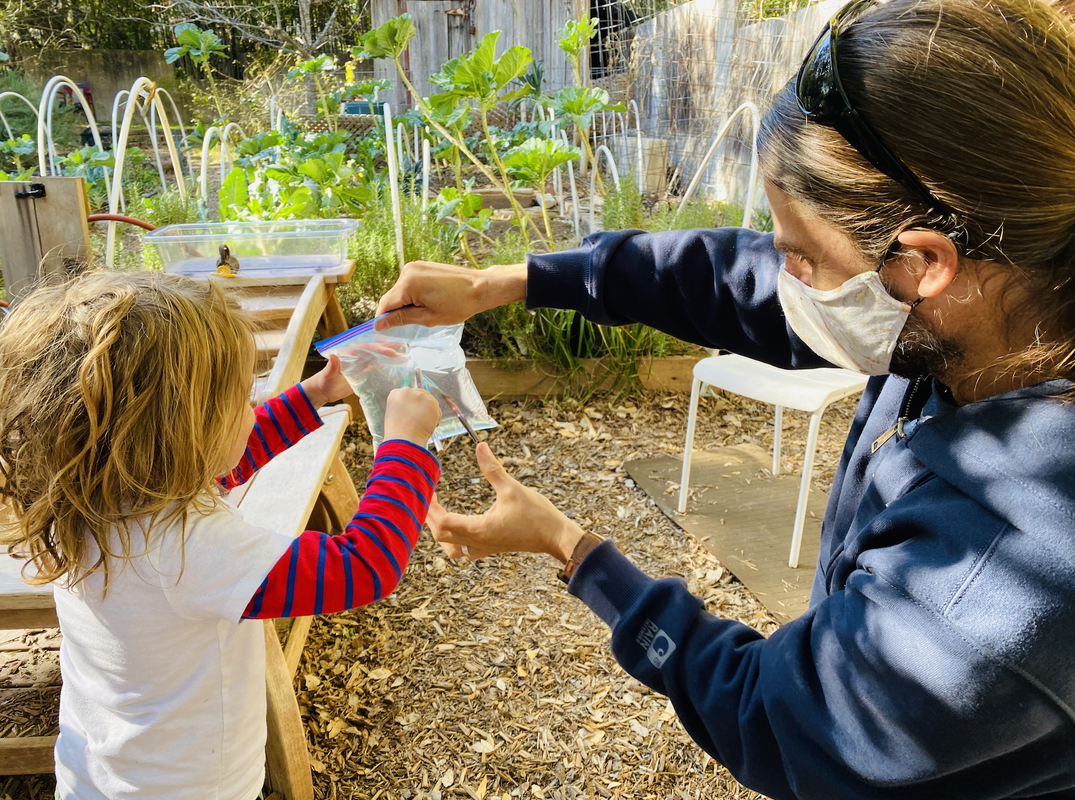
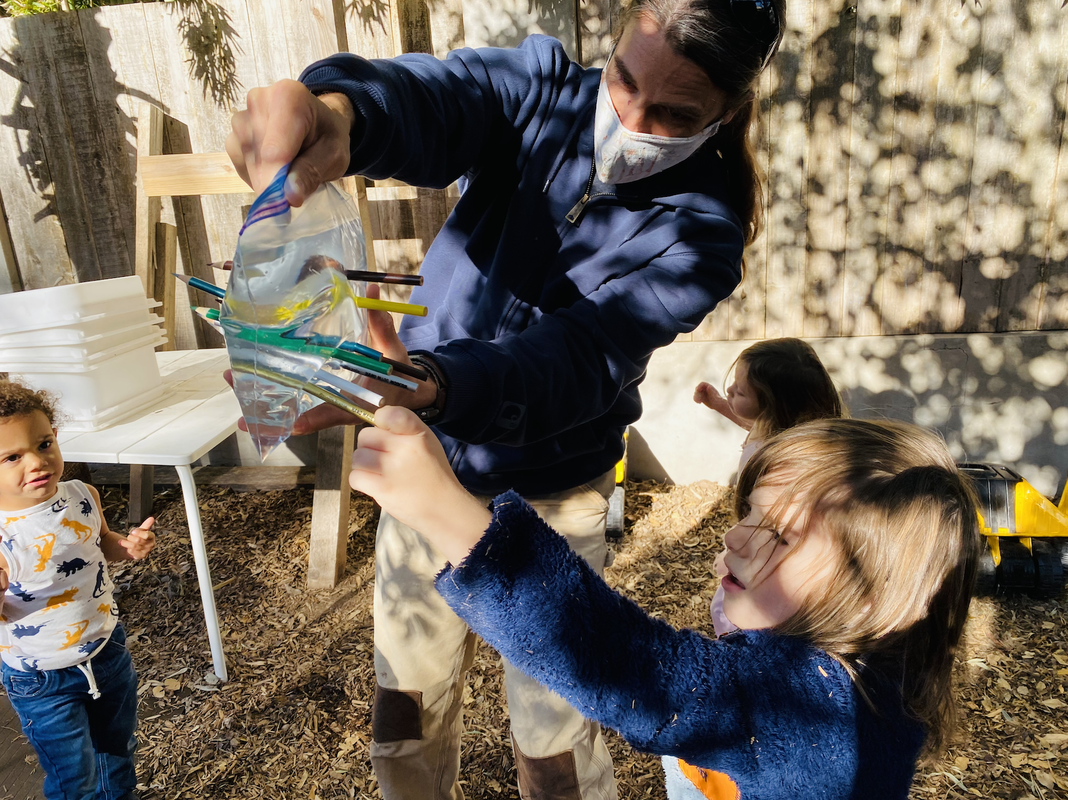
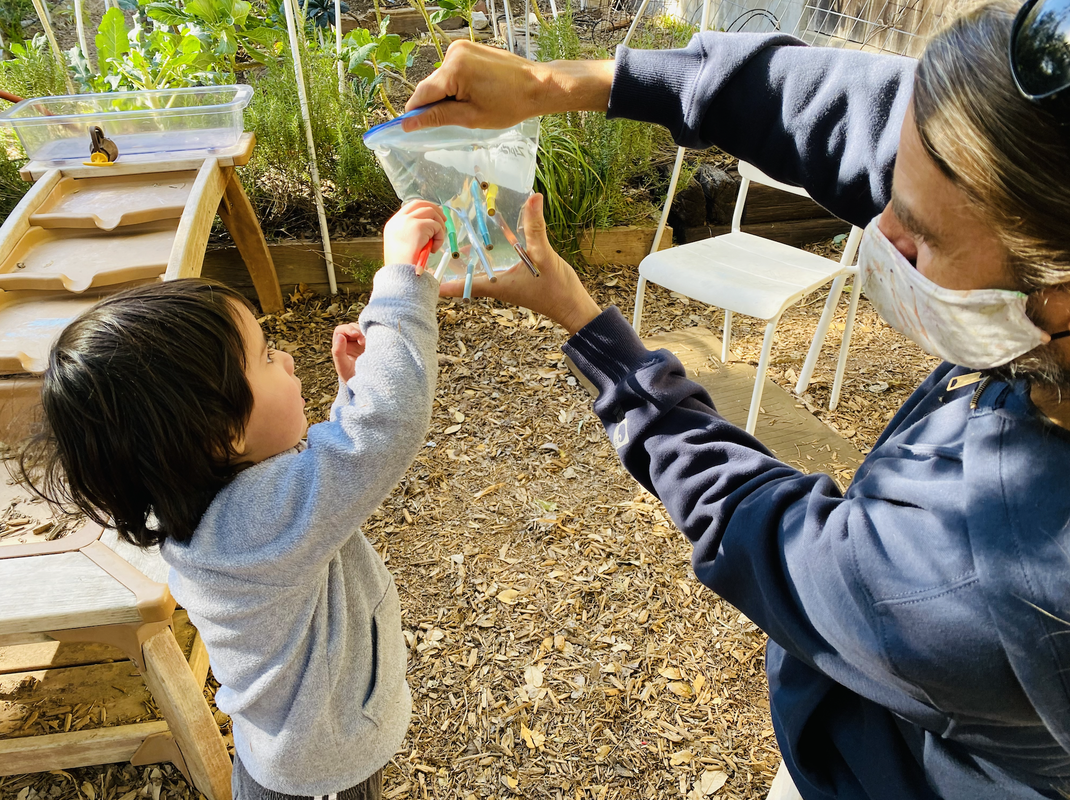
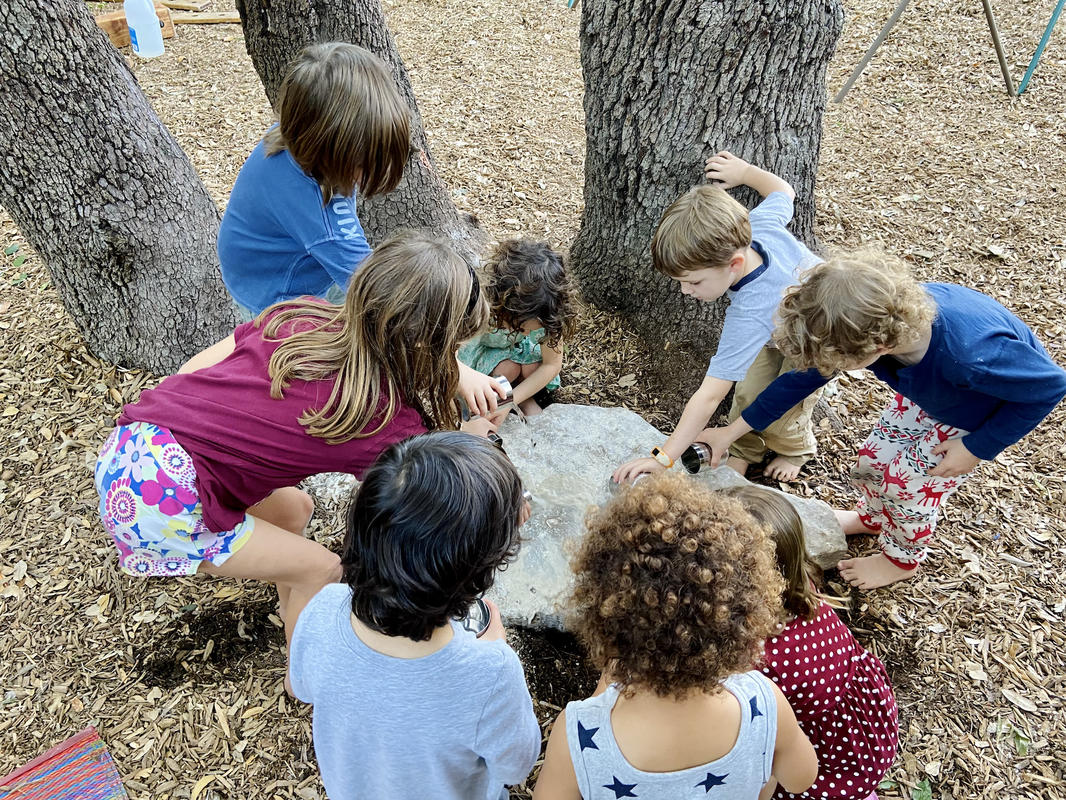
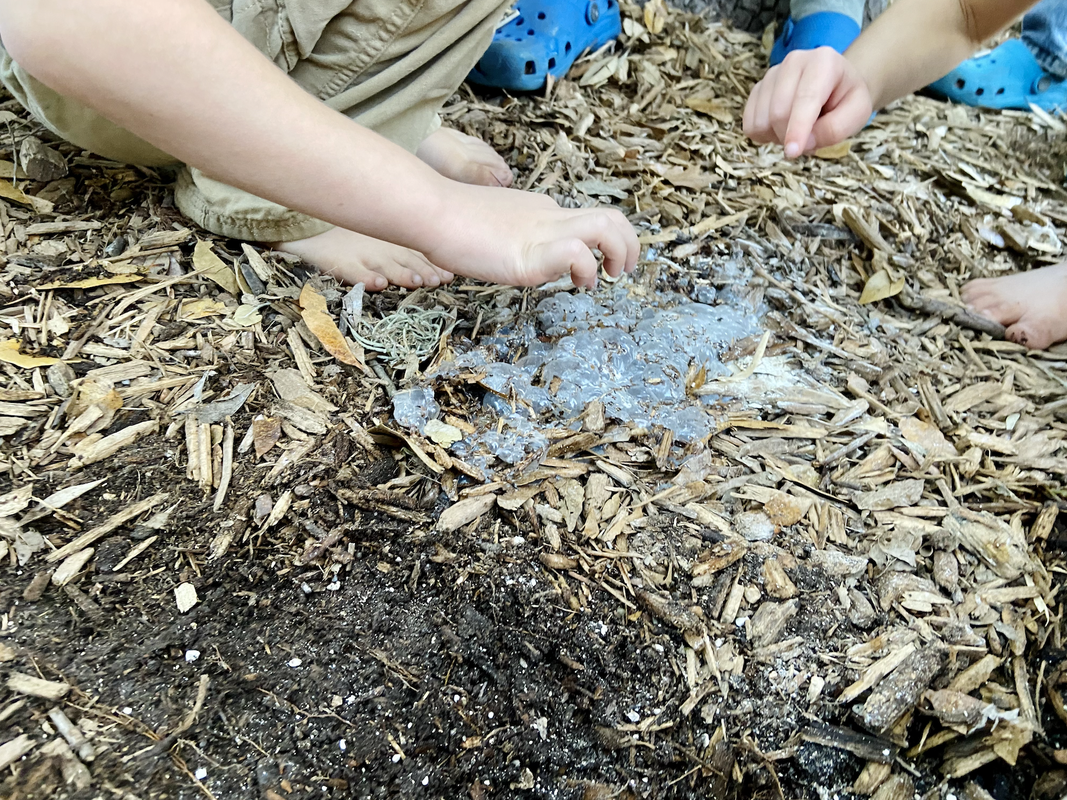
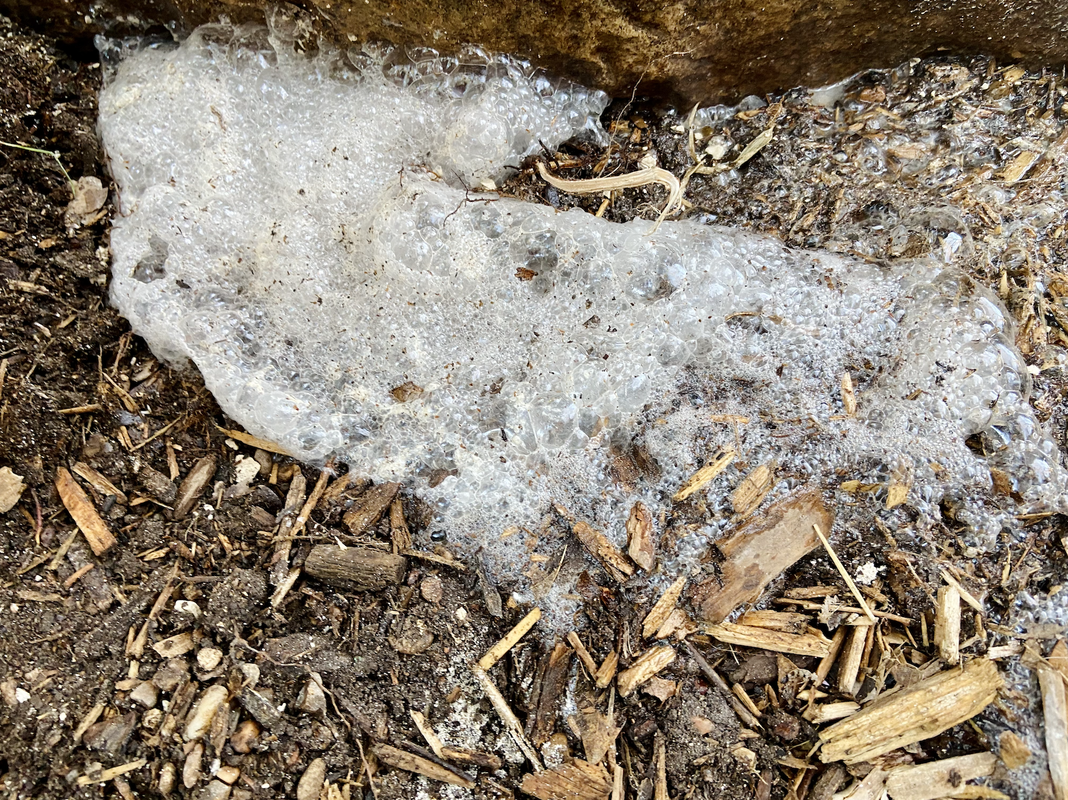
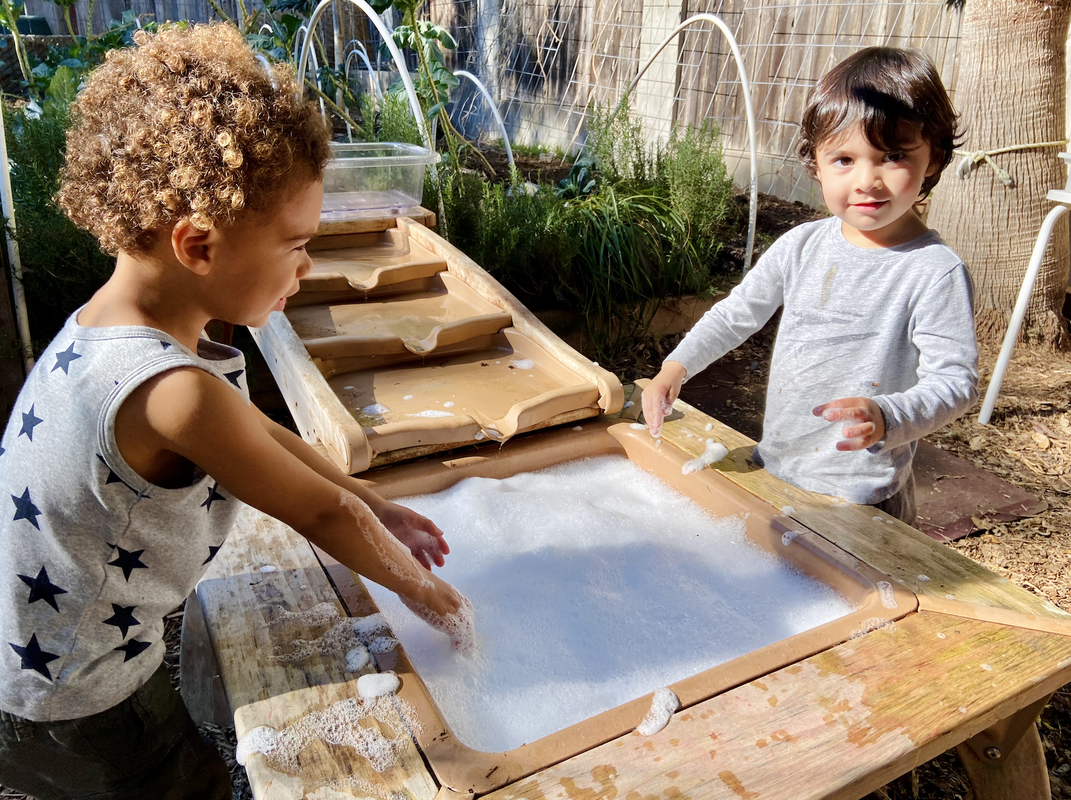
Science Friday!
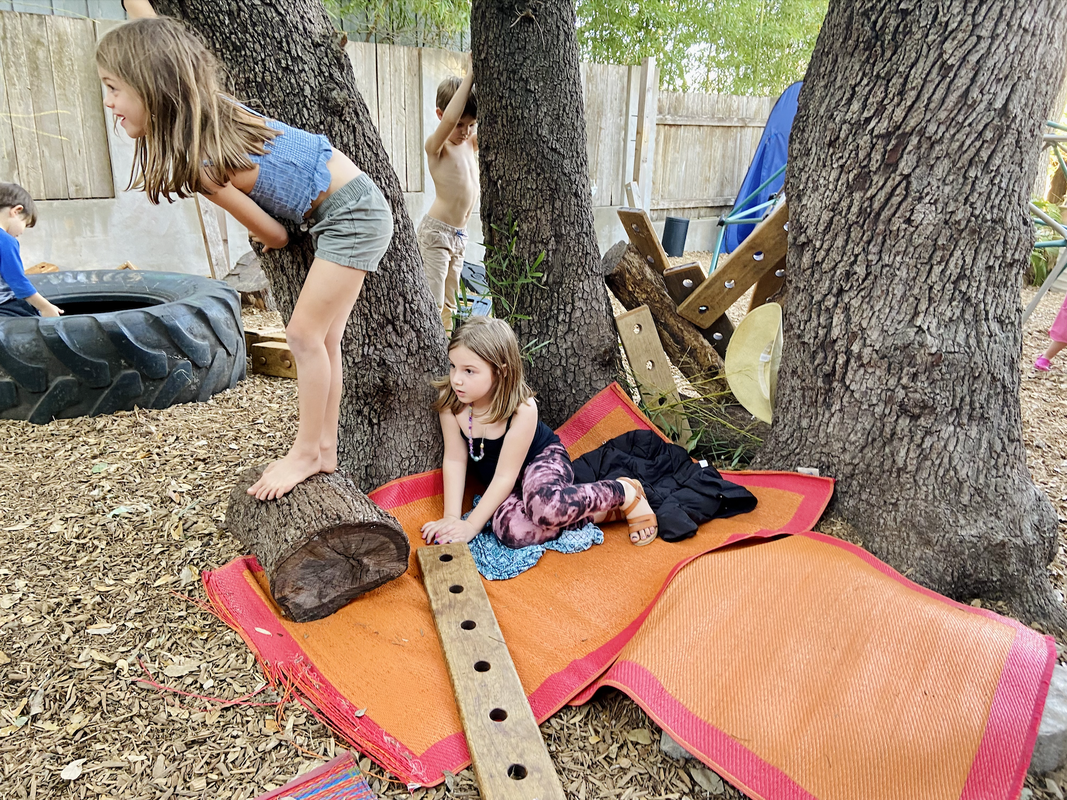
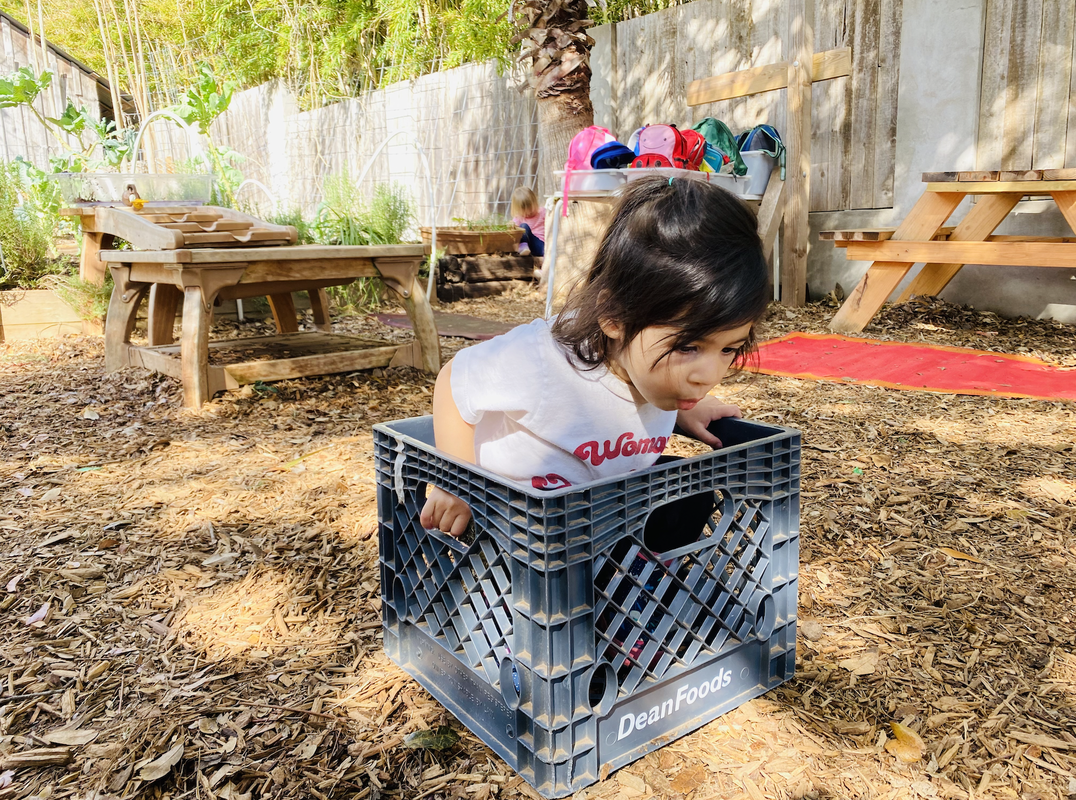
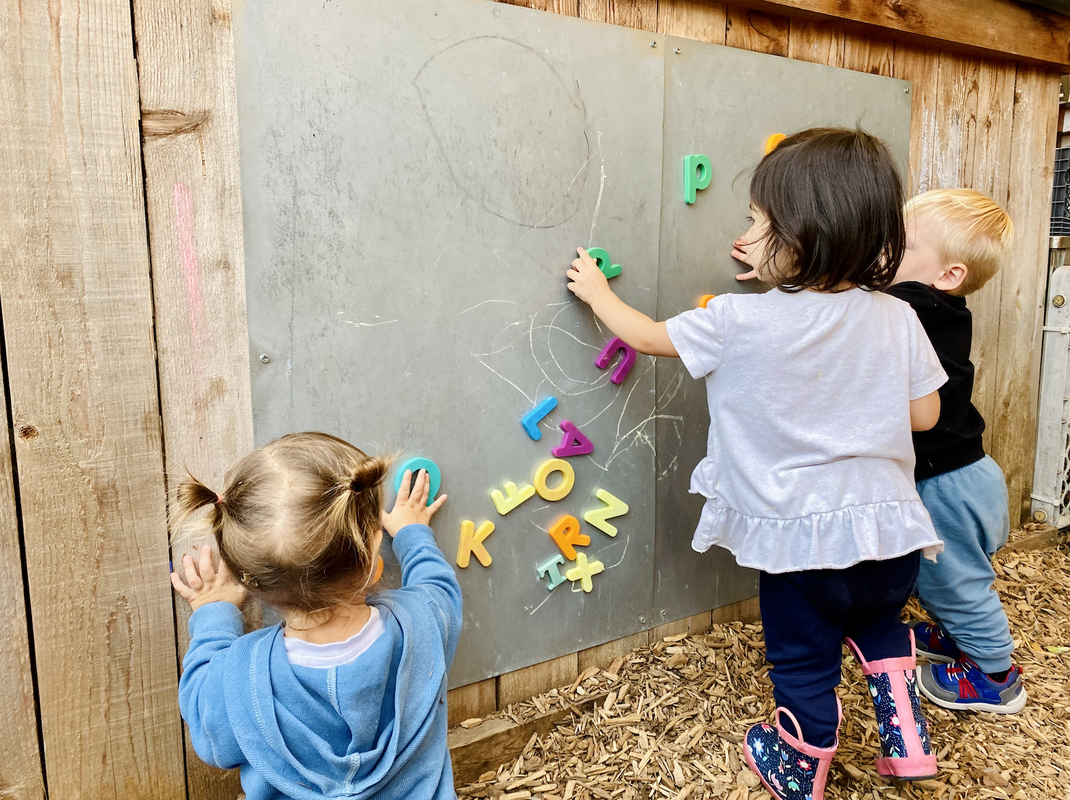
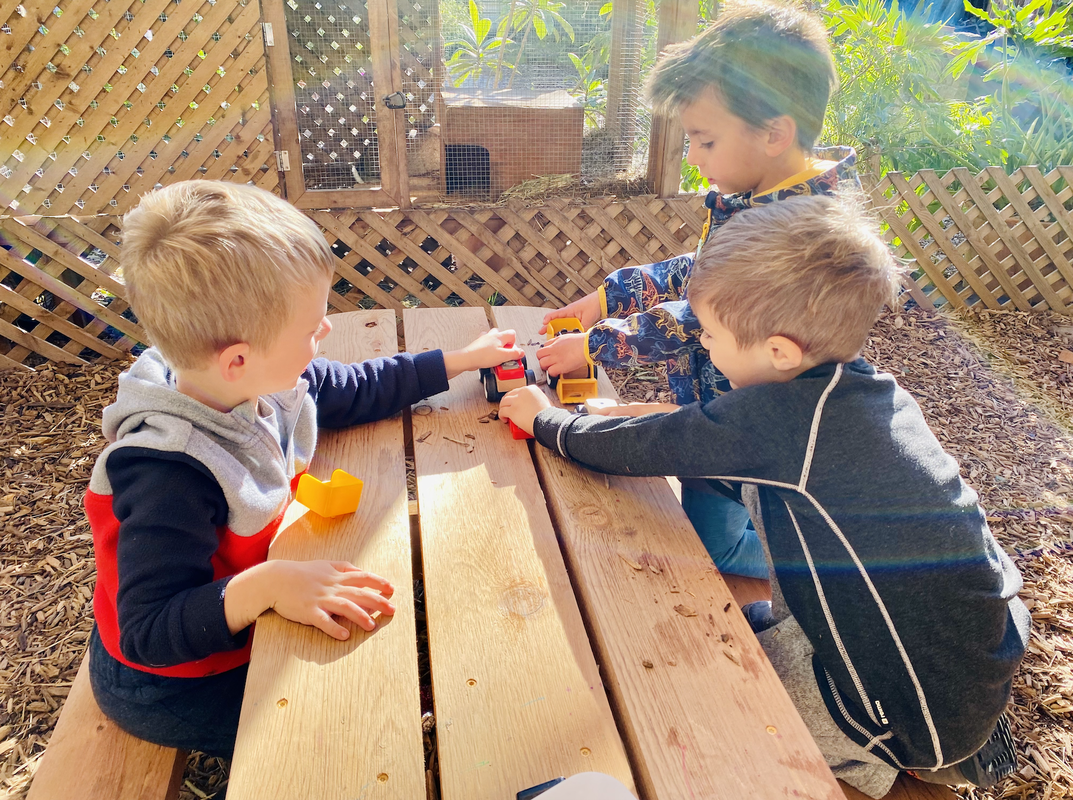
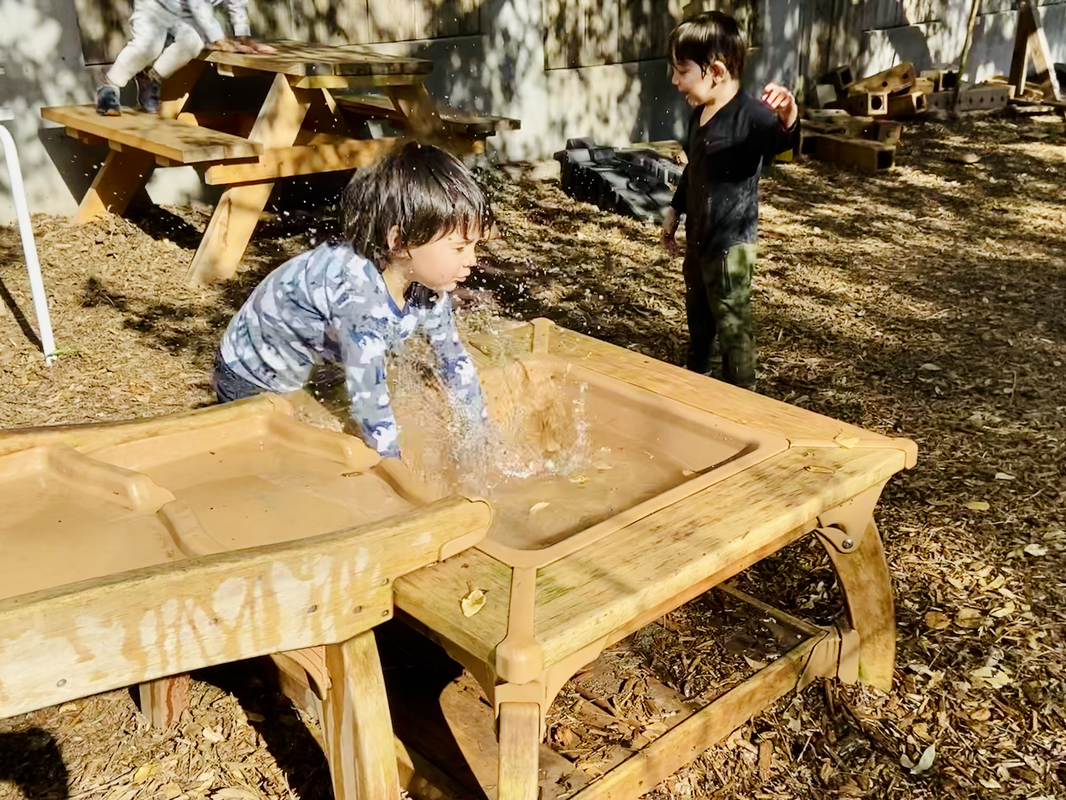
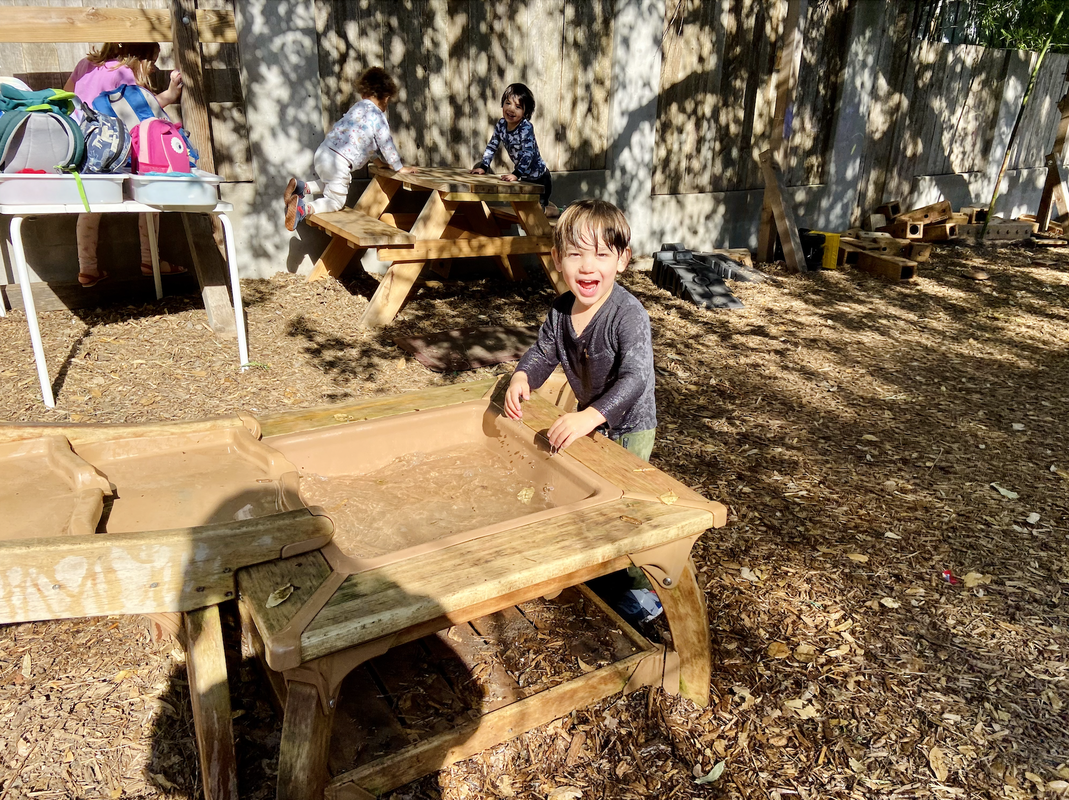
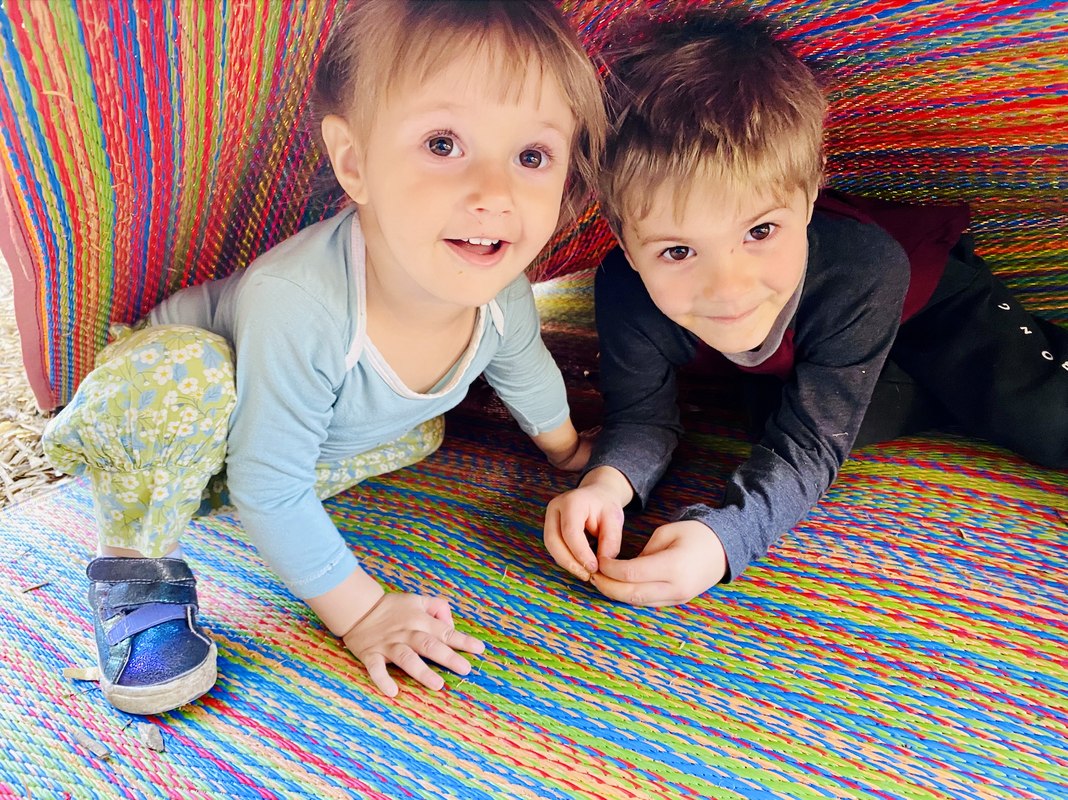
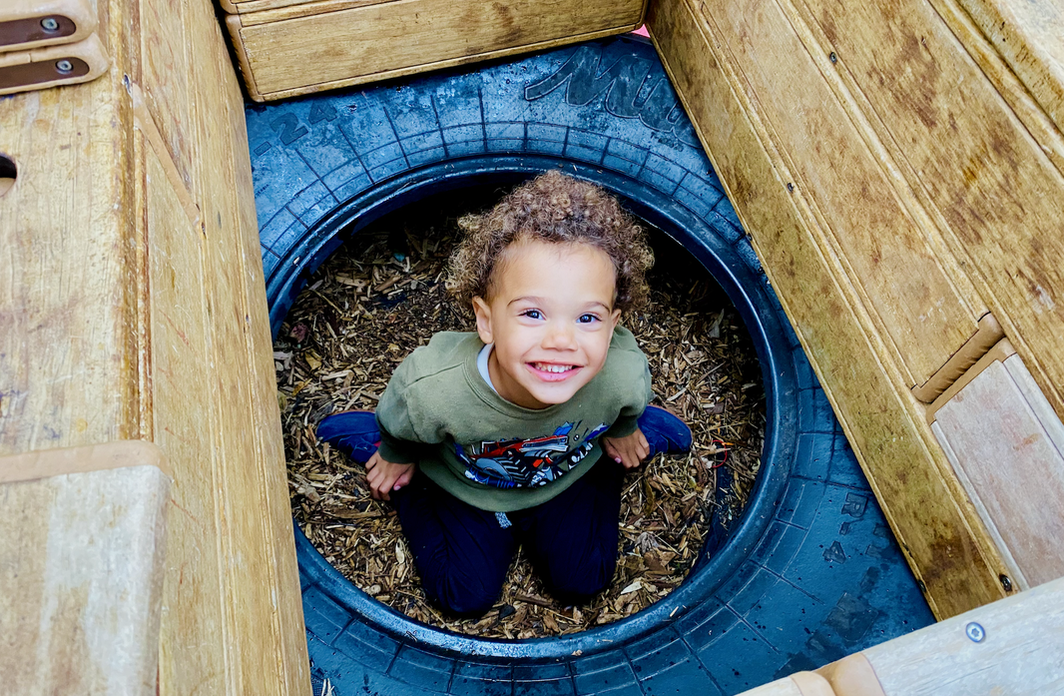
Outside Fun!
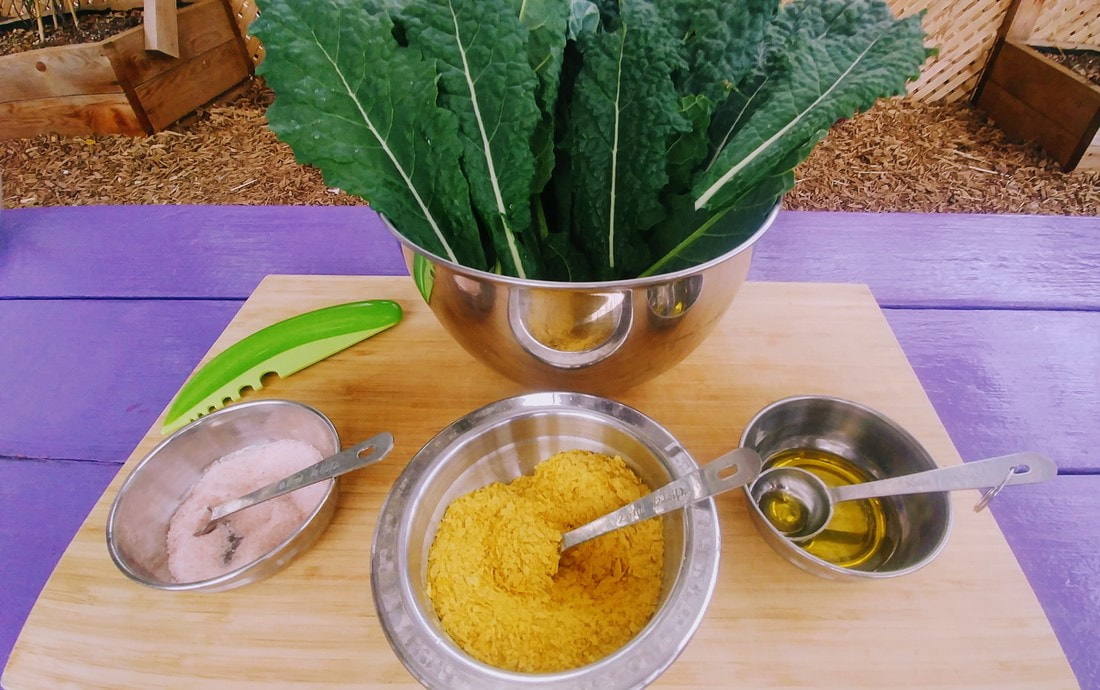
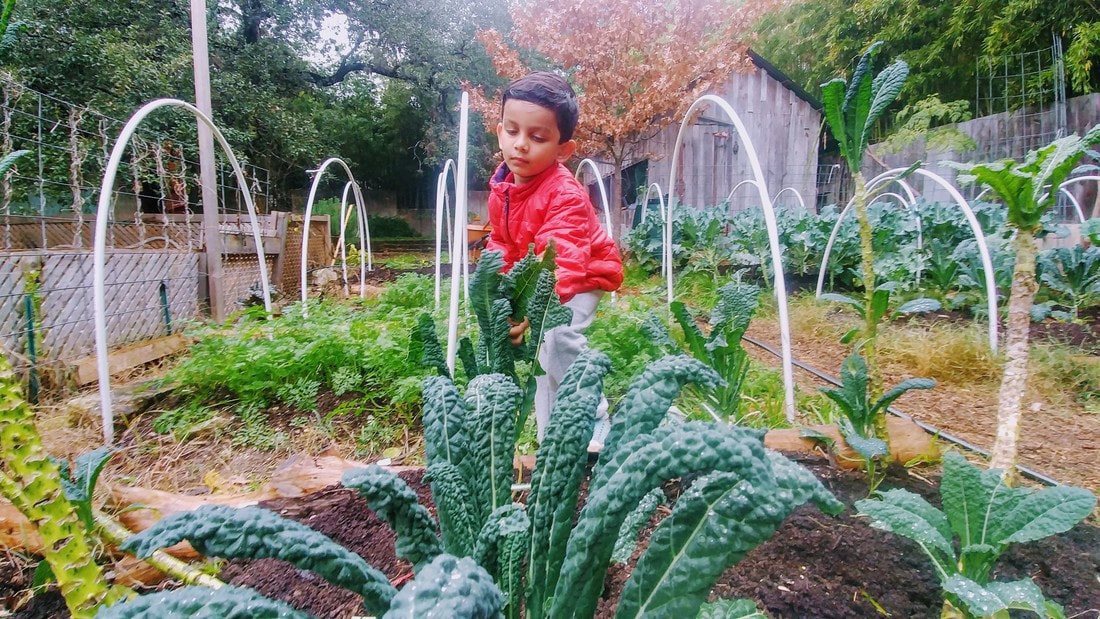
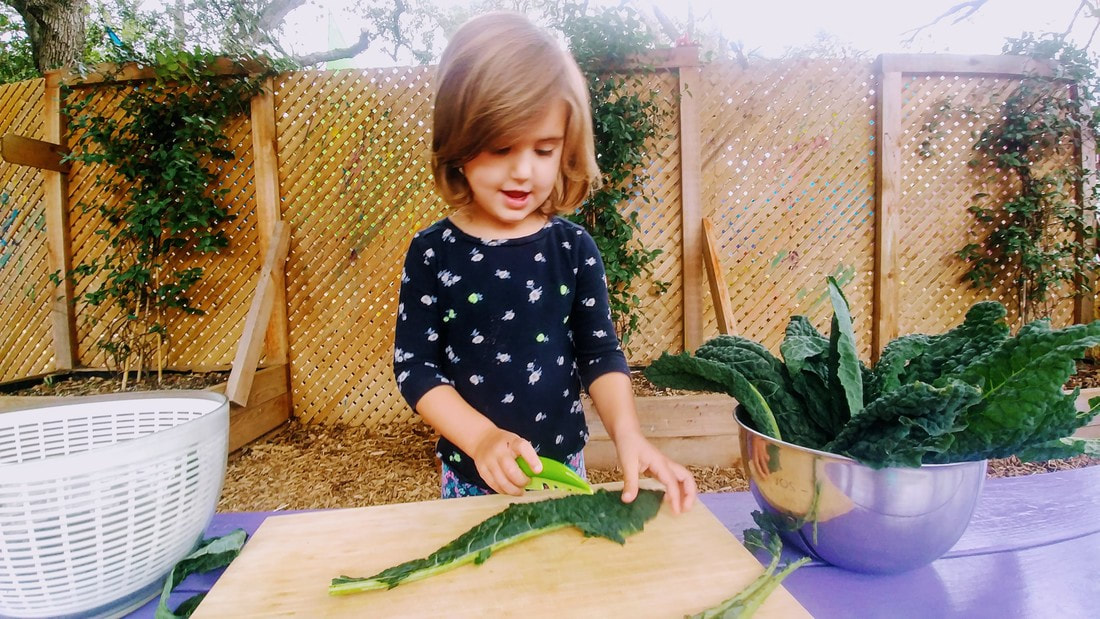
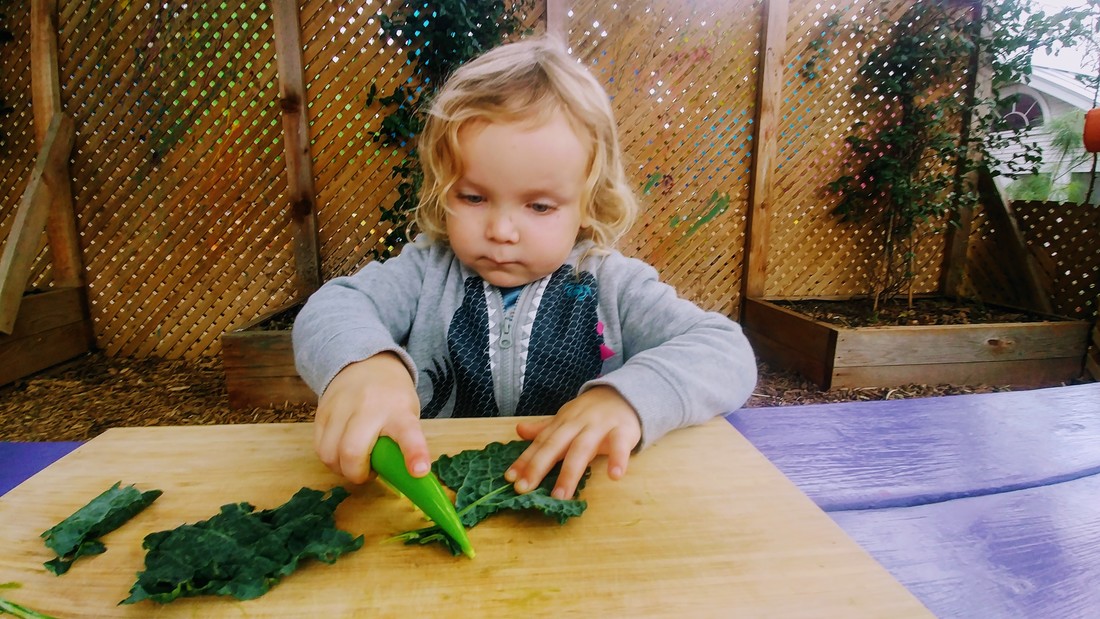
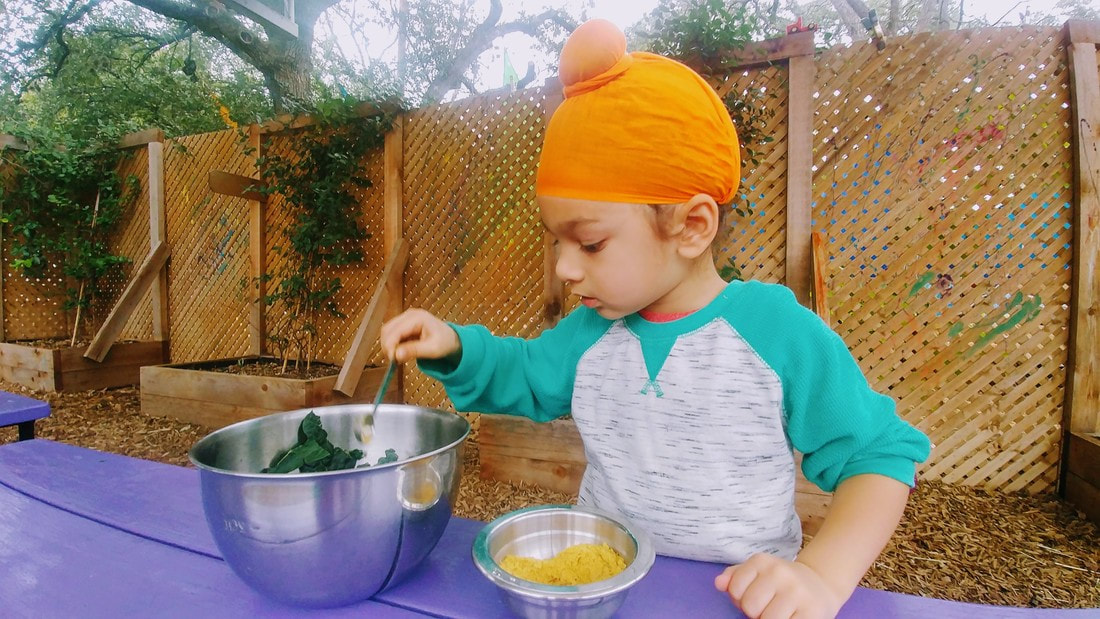
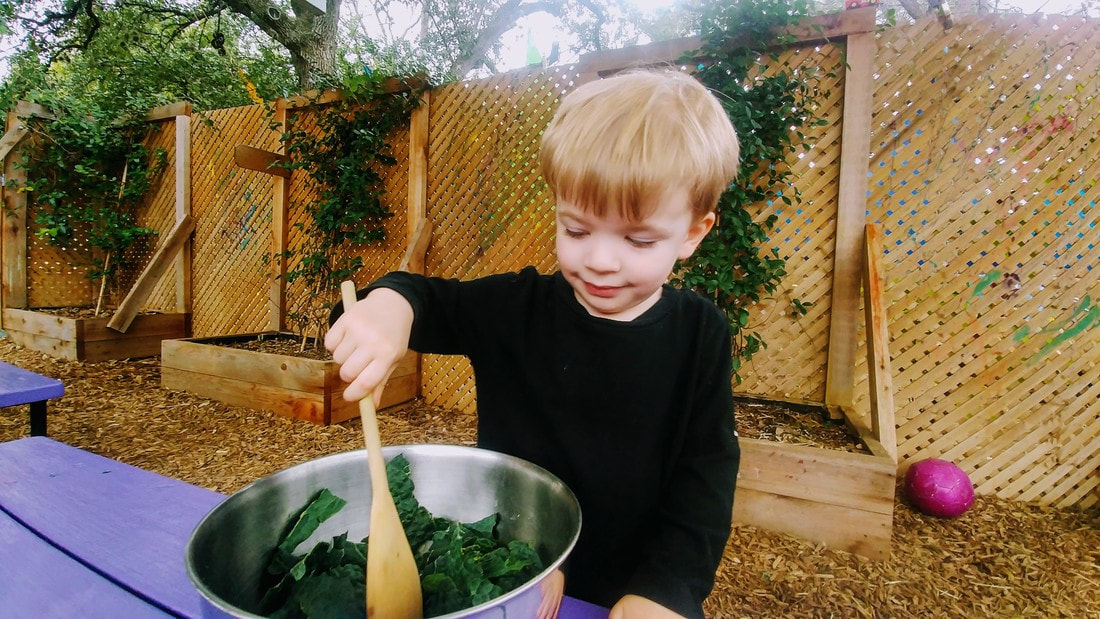
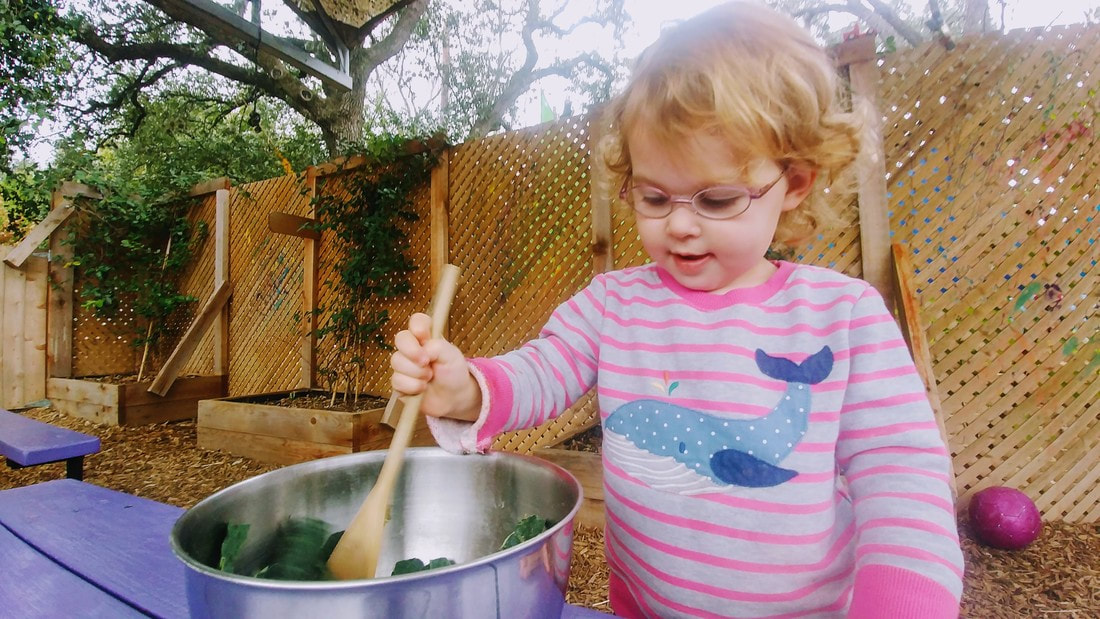
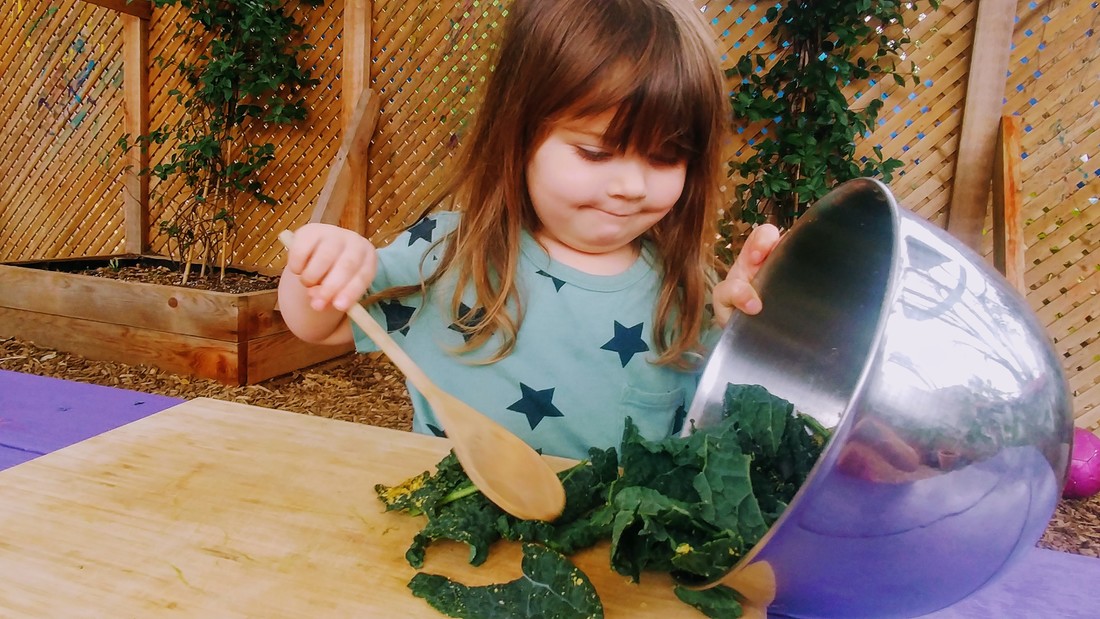
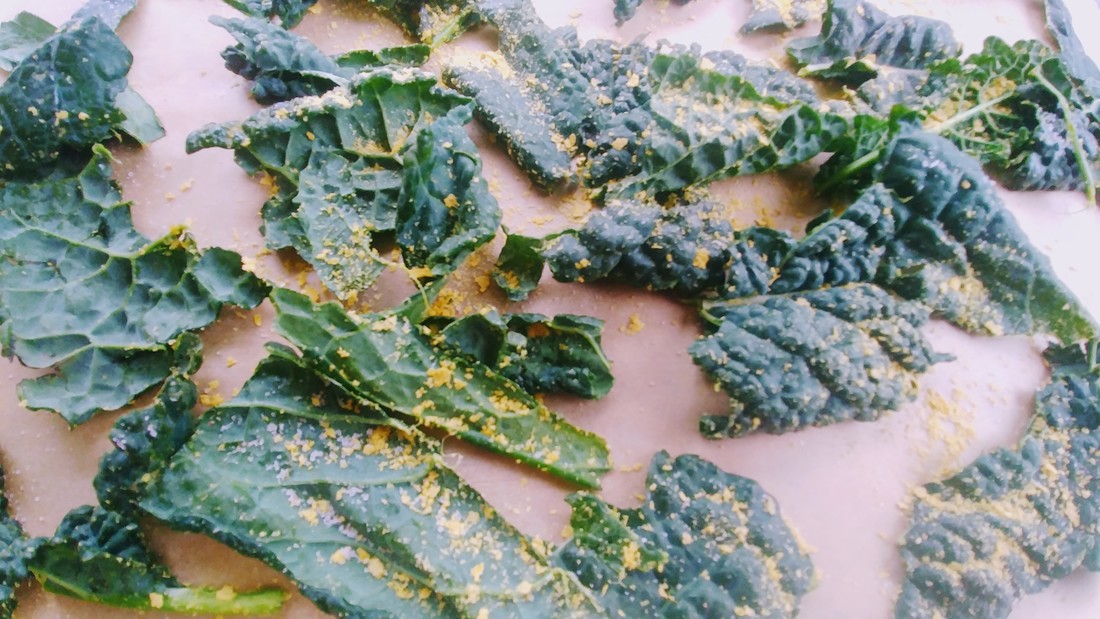
Easy Cheesy Kale Chips
- Preheat oven to 300 degrees.
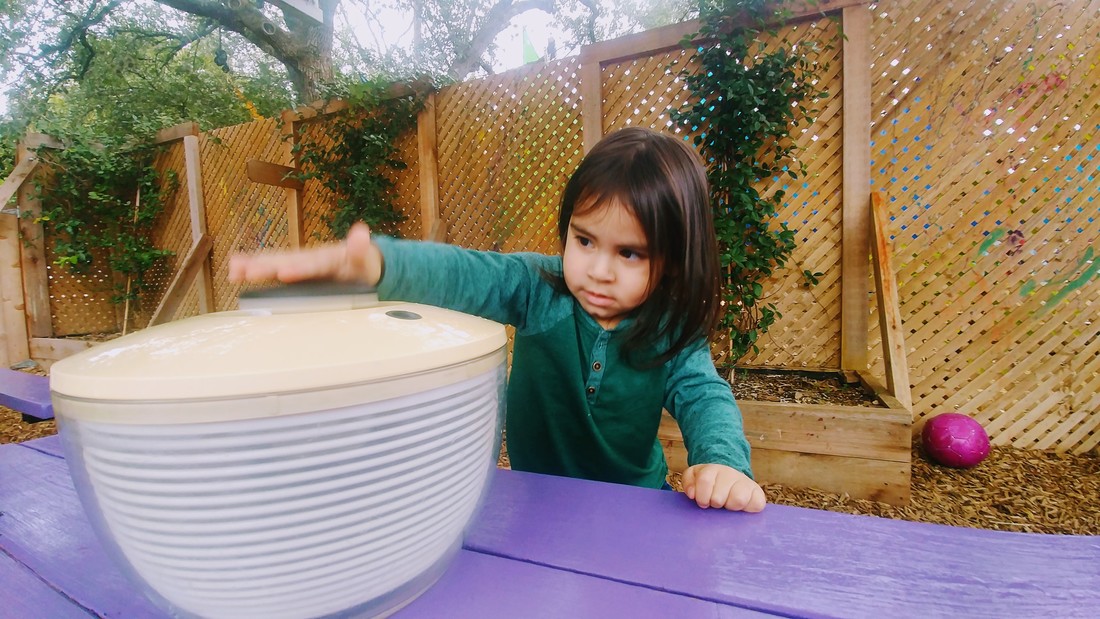
- Take out the stems of the kale and tear into smaller pieces then wash and dry in salad spinner. Add kale to a large mixing bowl and drizzle with oil. Use hands to massage the kale to soften its texture and disperse the oil. Set aside.
- Add 4 Tbsp nutritional yeast and 1/2 tsp salt to the kale and toss to distribute, working it into the grooves so it's thoroughly coated.
- Divide kale between 2 large baking sheets (or more if increasing batch size) and spread into an even layer, making sure the pieces aren't overlapping to ensure crispiness. You may need to bake them in two batches depending on size of baking sheets.
- Sprinkle the kale with 1-2 Tbsp nutritional yeast for extra flavor and bake for 15 minutes. Then remove from oven and toss/flip kale to ensure even baking.
- Bake for 5-10 minutes more, or until chips are crispy and golden brown. Watch carefully to ensure they don't burn. Let cool slightly before enjoying.

 RSS Feed